Home › Forums › General Discussion › Tdr finds a new home
- This topic has 93 replies, 9 voices, and was last updated 7 years ago by
 Paul Mossberg.
-
AuthorPosts
-
November 10, 2017 at 7:53 am #304273
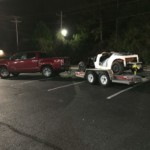
I just got home from picking up this Ford-Based TD kit. Now the fun begins!! hopefully not quite as much “fun” as Ed is having…
Luckily there are a few front engine Ford kit owners out there that I can turn to for their sage wisdom and sound advice!!
Happy Jack
 November 10, 2017 at 2:30 pm #304274
I can not imagine a “kit” being cleaner and with more promise than Jack’s new toy. An “adult erector set”. Many of the fancy pieces are still in factory wrap.
I’m stupid on Ford 2.3 engines (and drivetrains). Did these things come with crossflow heads from the factory? Looks to be a super nice exhaust header and a 2bbl Weber carb on the other side. Everything is SO clean I can’t help but repeat myself!
Super nice purchase.
November 10, 2017 at 9:57 pm #304275Good news!
Look forward to following your car-building adventure.
BTW, Jack, here’s what your engine should look like (sans the cone air filters, of course!)
 November 11, 2017 at 3:54 am #304276
Congratulations, Jack. Now the fun begins.
Bill Ascheman
Fiberfab Ford
Modified 5.0, 5sp., 4:11
Autocross & Hillclimb
"Drive Happy"November 11, 2017 at 8:26 am #304277Congrats on your new toy. Looks like a fun winter project. Any idea about what color you’re going to paint it? Keep sending us pics as you progress.
Amor Conquista Todo
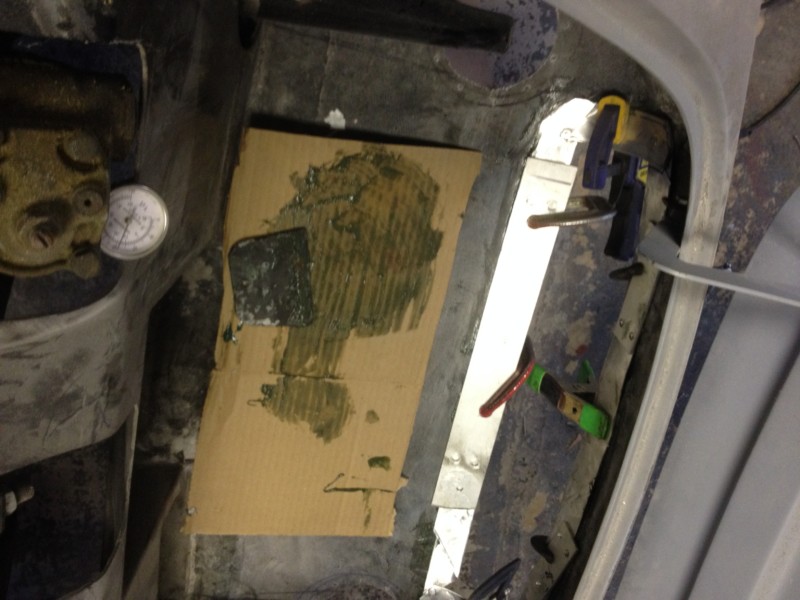
November 28, 2017 at 10:08 pm #304389Jack and I are gaining a lot of respect for anyone (Paul et al) who put together one of these TDr kits. Right now we have 472 c-clamps, vise grips, tape and all sorts of temporary hold-it devices trying to get things to line up. I really thought that the panels would be cut much closer to the correct size and shape than they are. ….it ain’t easy. This particular CMC kit absolutely requires two people.
November 29, 2017 at 3:39 am #304390For what it’s worth. When I began assembling panels the first time and following the instructions it had me starting at the front. Nothing lined up. I called the factory and was told to forget the instruction manual and start from the back. Strangely, everything went together without a hitch. Now, mine is a Fiberfab, so that might not even apply. And yes, there is a lot of cutting. Scary, the first time you cut a piece of it off. Luckily it’s fiberglass and you could put it back. Carry on. 😁
Bill Ascheman
Fiberfab Ford
Modified 5.0, 5sp., 4:11
Autocross & Hillclimb
"Drive Happy"November 29, 2017 at 7:45 am #304391The biggest thing even close to this I ever tried was building wooden ship and airplane models. They still took a year or more of cutting, fitting, trimming and waiting. I envy everyone who takes on these types of projects. Room, tools, experience, time, guts, all the things I don’t have enough of. I just want to get in and drive. You all have my two thumbs up!
Amor Conquista Todo
November 29, 2017 at 9:06 am #304395Post pics you guys. Pics of work happening are cool.
(imho)
Cut that FG! Glass-in some aluminum! Build! Build! Build!
 December 7, 2017 at 1:59 pm #304423
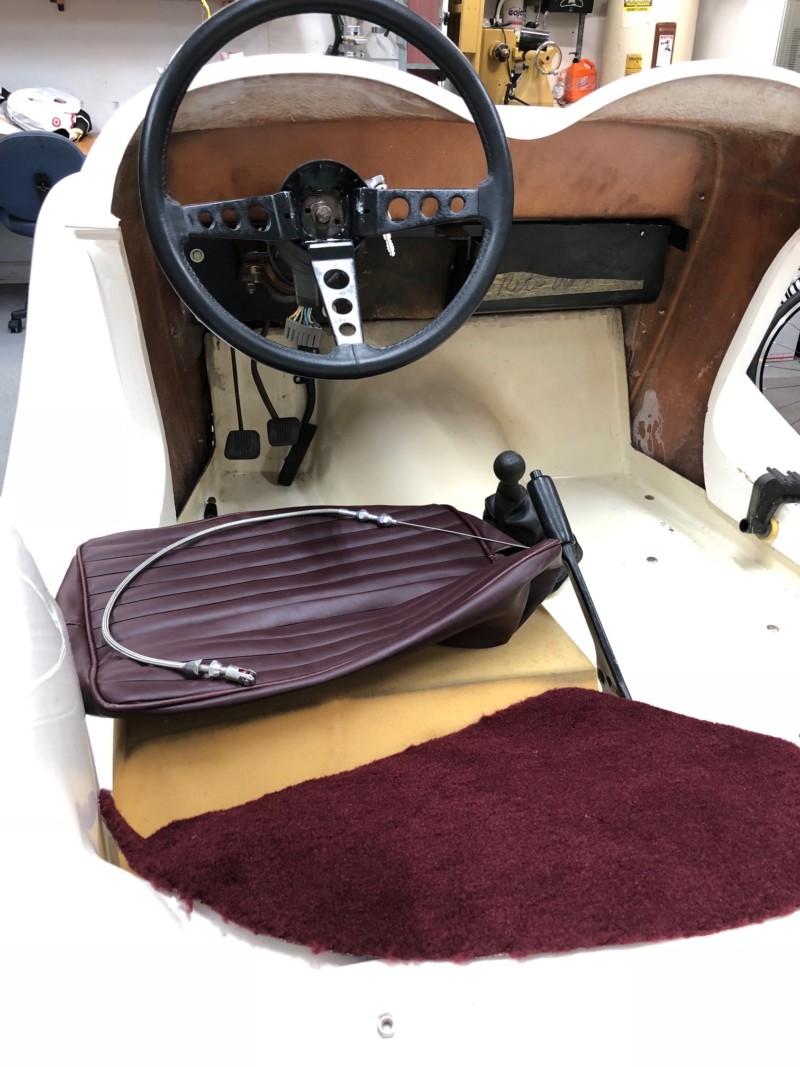 Well, it’s past time for a few pictures. We did get the engine running — and running pretty well. It took a few minutes to get the hydraulic listers to quiet down but they did eventually. I have a video of the initial startup which I will try to post////?????
Roy and I also started to do a test fit on the fiberglass — not so easy….we are still scratching out heads on how to get the hood to mate up with the front grill and the body of the car without large gaps. After all, this is a kit that has had at least 3 owners since the early 1980’s and has never been built beyond “trial fitting” of the panels, as far as we can tell…..but the parts had been cut and then left for us to try to piece together.
But then I knew I was getting something like a big Erector set as a “winter project”.

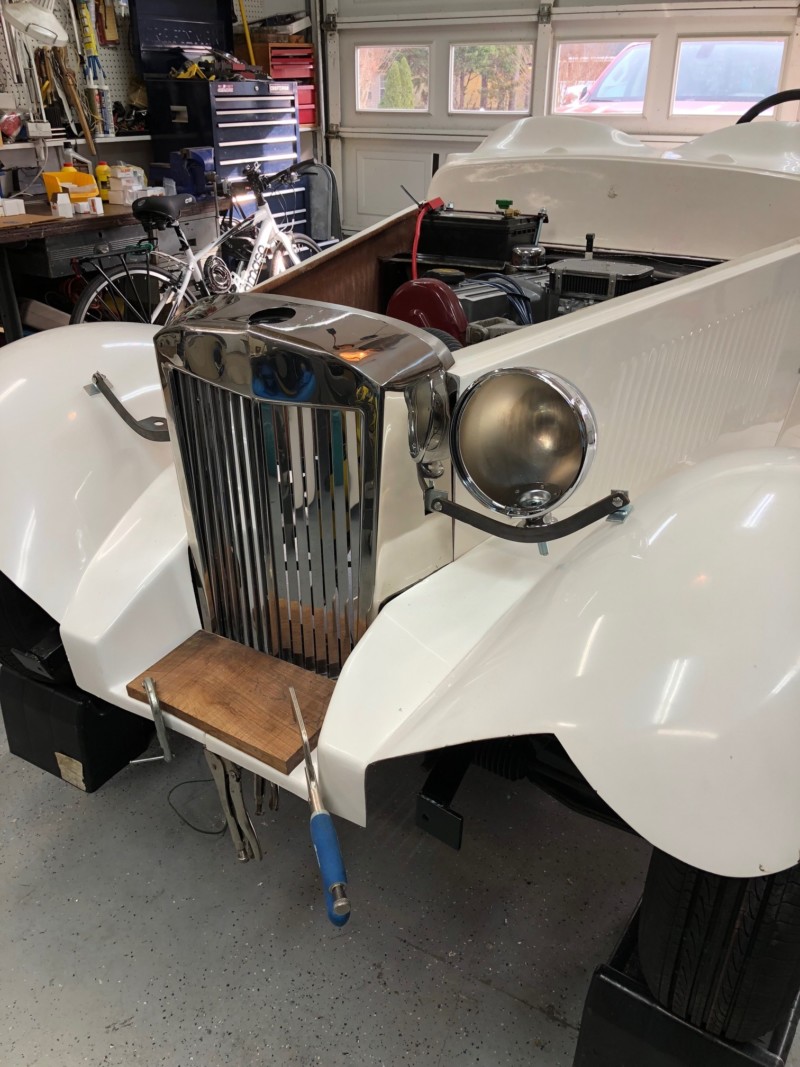
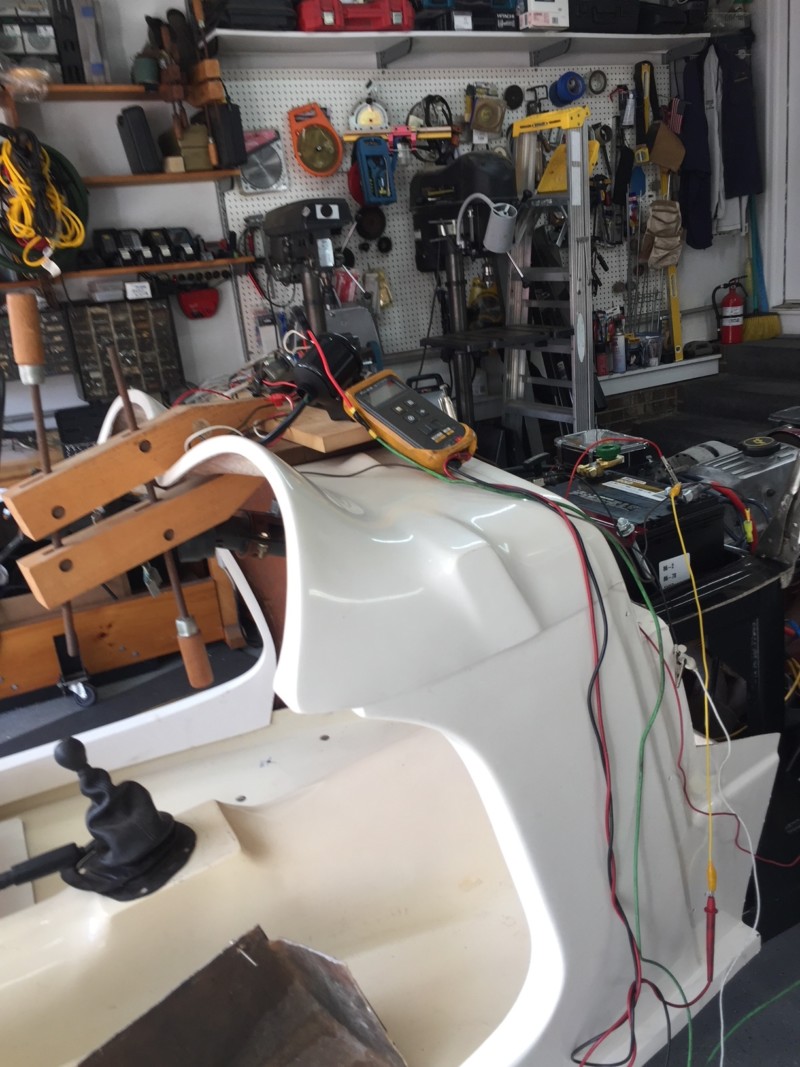


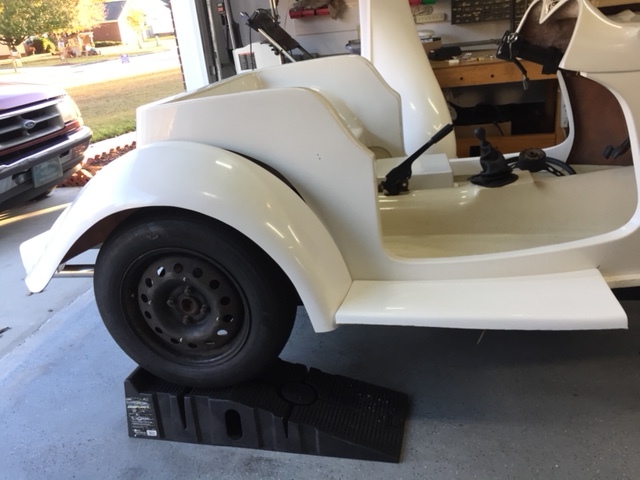
So Ed, finally pictures!!
More fun on this winter project once winter officially gets here
–Happy “to have a winter project — and then some!!” Jack
December 7, 2017 at 2:18 pm #304424Well, I was not successful in uploading a video — Anyone ever try/succeed at posting videos to the site?
Bill, how did you post those hill climb videos?
— You all are not missing much == the video I tried to post was the initial engine startup video — pretty interesting to me but maybe more like watching paint dry to someone else???
Maybe I’ll get to post it after you all educate me on how to “get ‘er done”
–Jack–
December 7, 2017 at 2:56 pm #304425December 7, 2017 at 7:58 pm #304427That engine looks really good. And I know you ol’ boys will make everything fit.
I have only one quibble: absolutely do turn the phone “sideways” when shooting video. Do it before you hit the shutter. Your viewers will thank you.
December 8, 2017 at 6:11 am #304428It all looks good. Looking forward to seeing it run at Carlisle. Enjoy.
Bill Ascheman
Fiberfab Ford
Modified 5.0, 5sp., 4:11
Autocross & Hillclimb
"Drive Happy"December 10, 2017 at 4:36 am #304429That is awesome. Looking forward to seeing the finished product. I know you guys will get it done right.
Vicenç - (bee sense)
Pembroke Pines, FL
1986 Aston - BCW Model 52 - "Montse II"(1983 FiberFab MiGi II - "Montse")
December 10, 2017 at 6:16 am #304430I really need to tell you guys how the best (by far) way to cut fiberglass, especially gel coated fiberglass, is! I’ve had many boats, and this comes up often if you are a tinkerer and work on or around your boats. It’s a bit scary because as my grandfather told me “no matter how many times you cut the board, you can’t make it longer”.
If you try it in a closed environment like your garage, you’ll have fiberglass dust on everything whether you use a saber saw, jigsaw, band saw or hand saw of any type…..or even this new and improved method!
Use a standard, hand held, inexpensive 4″ angle grinder (about $20 from Harbor Freight) with a thin cutting blade. (This tip was given to me by my brother John.) You really want to use one of the thin breakable type cutting blades, not the ones that look like fabric coated in resin. Quick, Easy, Controllable (even right up to the “line”) – and if you are not convinced, try it on a piece of scrap. Still lots and lots of dust, but you can do a nice job finishing the edge with a 36-80 grit “Flap wheel”sanding wheel on the same angle grinder. The airborne dust (as well as being a breathing hazard) generated is why I suggest the inexpensive grinder….and very definitely do don some sort of protective device for breathing.
The very best way is to cut outdoors.
Will give you a fast and very smooth cut and will not chip and damage the gel coat! Wish I had known this 50 years ago.
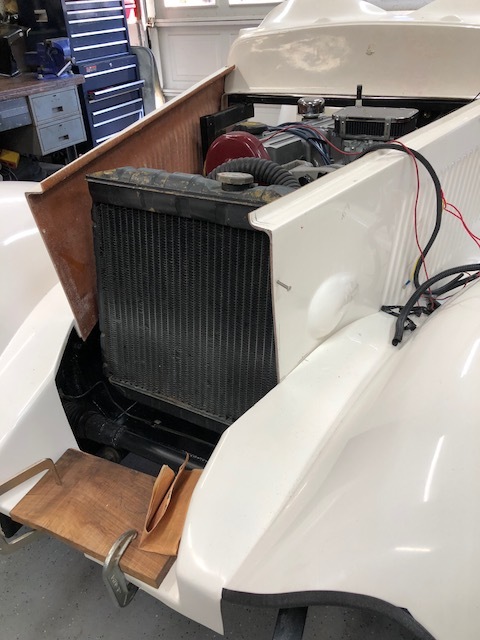
December 10, 2017 at 12:20 pm #304440Well I got the radiator re-mounted at a bit of an angle so that it will clear the grill and the sides while still not hitting the fan — and keeping the upper radiator hose from hitting wither the fan or the alternator pulley…. Phew!! I still can’t imagine how Billnparts is fitting a 5.0L V8 into his car…

I decided to take a break from fiberglass cutting and started assembling the seats. It’s sort of like the knee bone is connected to the thigh bone, etc….. I need to set the steering column height before I cut the dashboard….I need to make sure I can reach the pedals and fit under the steering wheel before I create a dashboard — so I’m building the seat bottom cushions and seat back. I’ll then temporarily put them in the car and see what’s what…Two steps forward…
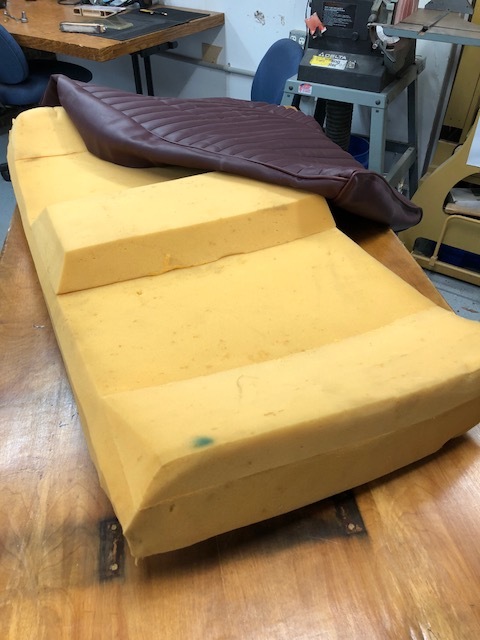

By the way, Bill in Florida, who I purchased the kit from, suggested looking at all of the various manuals from the various manufacturers for their various models (i.e. look at the FiberFab VW manual as well as the CMC Ford manual…..) It’s amazing what they left out of one manual and highlighted in another…..Go Figure!! Thanks Bill in Florida for the hint!! And thanks to whoever put all of the manuals on this site in the library!!
On to cutting plywood, gluing foam and stretching fabric!!
Happy Jack
December 10, 2017 at 7:13 pm #304441Jack, this would be the ideal time to invest in a seat warmer kit.
Bill Ascheman
Fiberfab Ford
Modified 5.0, 5sp., 4:11
Autocross & Hillclimb
"Drive Happy"December 10, 2017 at 8:59 pm #304442Hey Bill,
Good idea on the seat warmers! I guess there is no better time to install the warmers than while I have the seats waiting to be built.
I’ve been letting my fingers do the walking around eBay and found a ton of seat warmers listed at prices all over the map. I guess I’ll just have to pick one from the middle of the pack (~$75 for 4 pads and 2 controls (driver’s seat and seat back & passenger’s seat and seat back). Suggestions anyone?
I guess it’s also time to start thinking about a universal car heater, since the heater (and the A/C unit) was optional and the 1st owner did not get the heat or the A/C that option…Ideas? Sources anyone?
Stay Warm and dry!!
Jack
December 10, 2017 at 9:36 pm #304443Suggestions? Jack, I suggest you tell Bill: “that’s why I moved to NC, – so I wouldn’t need no stinkin’ seat warmer”. 🙂
(Bill, I know Jack well enough to know one thing, – he can not get enough heat. Seat warmer’s a comin’. Fer sure.)
December 11, 2017 at 3:39 am #304444Dont have a picture, but you can pull it up. NAPA part #745-1048 is the style of unit that was posted in the Fiberfab instruction manual. I have only had to replace mine once since the initial build. It lasted over 15 years. It was a daily driver for quite a while. On High with the drafty top up, it will cook you. It bolts to the firewall dead center on the transmission tunnel. It has provisions to plumb for defrosters if you so desire.
Bill Ascheman
Fiberfab Ford
Modified 5.0, 5sp., 4:11
Autocross & Hillclimb
"Drive Happy"December 11, 2017 at 6:31 pm #304448I went with this little cube one which is designed after the Arnolt heaters retro-fitted to many MG TDs in the day. Not as strong as Bill’s but I’m willing to give up a lot to look “period-correct,” and dudes definitely froze their asses in-period.
December 17, 2017 at 9:06 pm #304499More progress trying to get the hood to line up at both ends — “mark — cut — test fit — mark — cut — test fit — sand — repeat as needed…..”
And we got it to be as good as it gets — we adjusted out as much as was possible given the fact that the hood was pre-trimmed sometime in its past 30 years by one of its prior owners.
It turns out that the MultiTool with aplastic cutting blade (Thanks Roy for the idea of using the Multitool that I forgot I had) was perfect for the job — followed by some 120 grit sandpaper on a sanding block…..


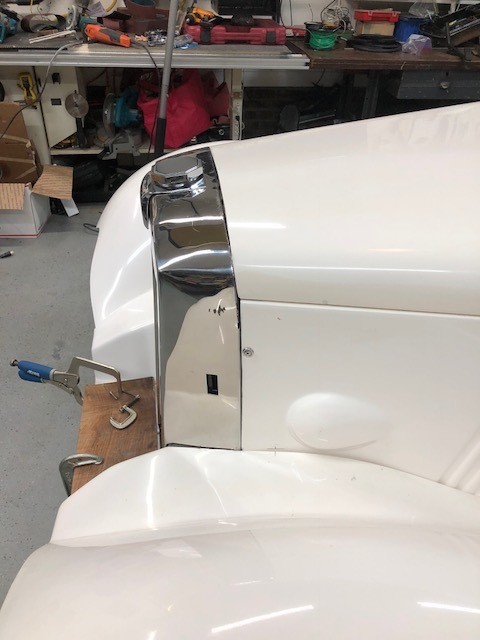

I ordered some Take Apart hinges that have a lock feature so they won’t come apart until I want to take the hood off to gain access to the passenger’s side of the engine bay. They are made for a boat engine hatch cover — should be handy. I got the idea from looking at the hinges on that Red Duchess that was listed as an MG TD Tribute on eBay that had the “2.3L engine plucked out of a Mustang” — only the hood hinges on that car did not seem to have the locking feature….Amazon for ~ $15/pair. I’ll post a picture once I get them.
I’ve also been working on getting the seats assembled so I can test fit them in the car to determine if I need to cut the dashboard to lower the steering wheel…..this project is like working on a gigantic jigsaw puzzle where certain pieces have to be inserted in the proper order or the whole thing never becomes more than the sum of its parts……phew!!

I’m expecting the seat warmers to get here this Tuesday — once I have them (Thanks Bill for the idea) I’ll finish stuffing and stapling the seats.
That’s all for now…..more fun later in the week
Happy Jack
February 27, 2018 at 6:36 pm #304700WOW — It’s been a while since I posted my progress on my Ford-based TDr project.
I’m ashamed to admit it but I am WAY slower than Bill and Ed when it comes to my project…but slow and sure is how I look at my slow and plodding progress…
I did get and installed seat heaters… Yea!!! Thanks Bill for the idea.
Then I went on to the dash. I took the factory-supplied dash, ran it through my surface plane to remove the plastic shroud that the factory slathered on the very-thick dash, and also thinned it down in the process. I then cut out the dash to fit around the steering column as well as cut out the center section for the “from original ’52 MGTD” center dash panel for switches and gauges. Here’s the mock up


Here’s the “trimmed down and reworked” dash board…awaiting speedo and tach
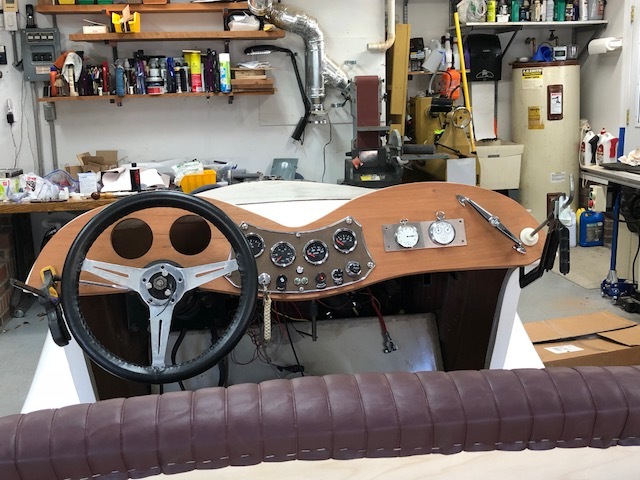
Here’s the “after planing and cutting and fitting shot:

Still lots to do — including glassing in the battery box, drilling and bolting the side panels in place, wiring, etc, etc….


What Fun!!
Happy Jack
February 27, 2018 at 7:35 pm #304701Looking beautiful, Jack. I really like what you’ve done with the dash.
Bill Ascheman
Fiberfab Ford
Modified 5.0, 5sp., 4:11
Autocross & Hillclimb
"Drive Happy" -
AuthorPosts
- You must be logged in to reply to this topic.
