
Home › Forums › General Discussion › Redone Dashboard
- This topic has 7 replies, 5 voices, and was last updated 16 years, 2 months ago by
James Cochran.
-
AuthorPosts
-
February 7, 2010 at 3:58 am #232882
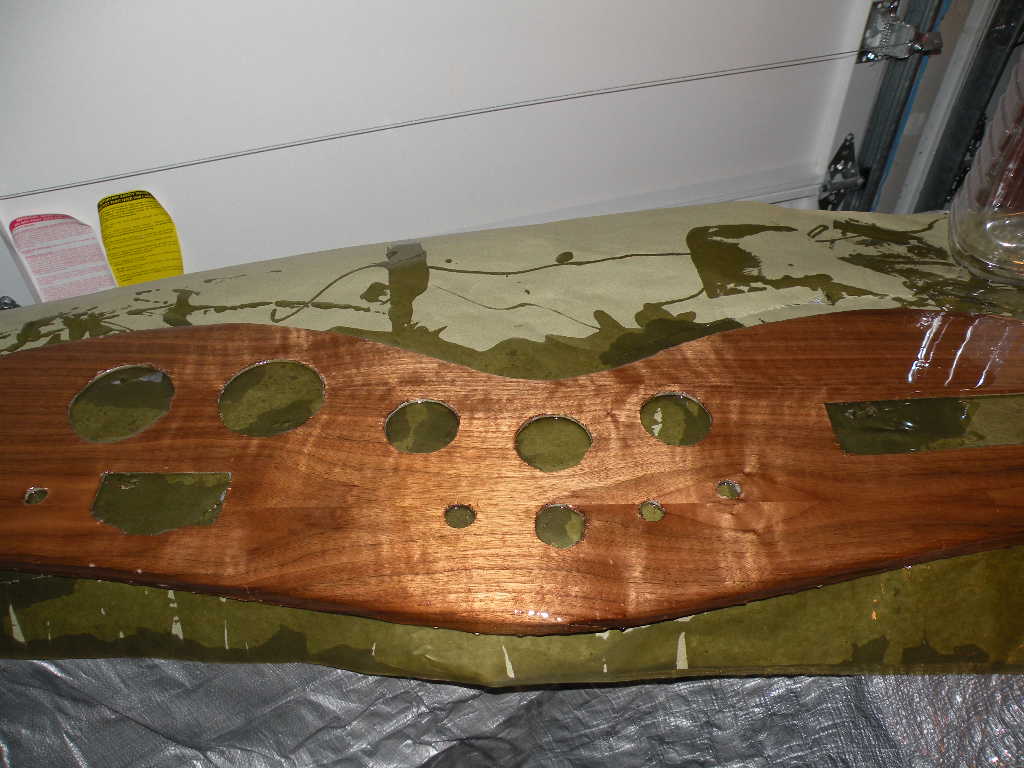
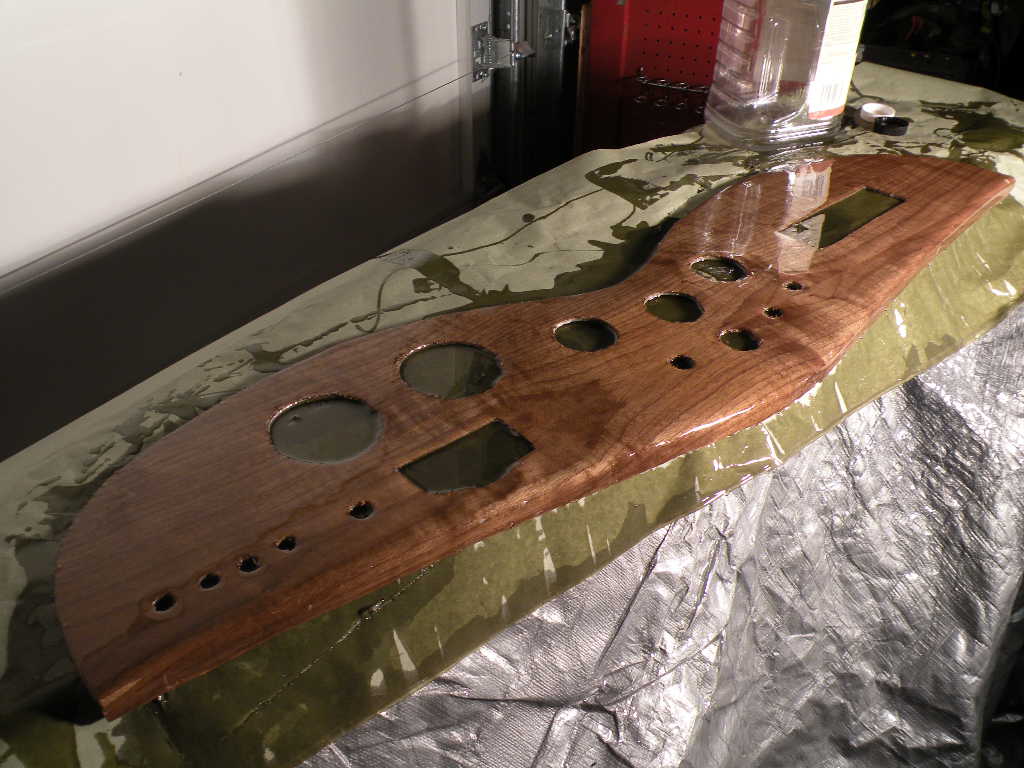
Attached are some photos of my Migi Dash I just redid. I used a Walnut Veneer kit. This was a white fiberglass dash with a raised section in the middle. I filled the dash around the raised section with body putty then sanded and feathered to level surface. I applied the contact cement two coats to the dash and two to the back of the veneer. A friend showed me a cool trick, after the cement is dry I used 8 pieces of wooden dowel rod laid seven across the surface a few inches apart and saved one. I laid the veneer on top of the dowel rods and was able to adjust the grain of the veneer to get it as straight as I could with the dash This keeps the two surfaces apart until you get it straight once they contact each other you cannot adjust. Then starting on one end I pushed the veneer down on to the surface of the dash, rubbing with my had and pressing into place as I went each time I got closed to the dowel I pulled it out and proceeded on I repeated this until I had removed every dowel and had made my way all the way across the dash. Then I took the last dowel which was still clean and used it as a rolling pin to roll across the surface of the veneer. Try to roll in one direction. After letting the contact cement sit for a few hours I turned the dash over on a clean surface and cut out all the gauge and switch holes with a utility knife. Then I wiped it down to remove all dust ,laid it on a drop cloth on a level surface and pored the epoxy over the surface about an eighth inch thick I used a body putty spatula to level and cover. The epoxy has a self leveling characteristic and does the rest. I used a very good quality kit by Saurers and company http://www.sveneers.com The clear epoxy finish is by Glaze Coat www.glazecoat.com. I will post the pictures below.
Will
February 7, 2010 at 4:01 am #240626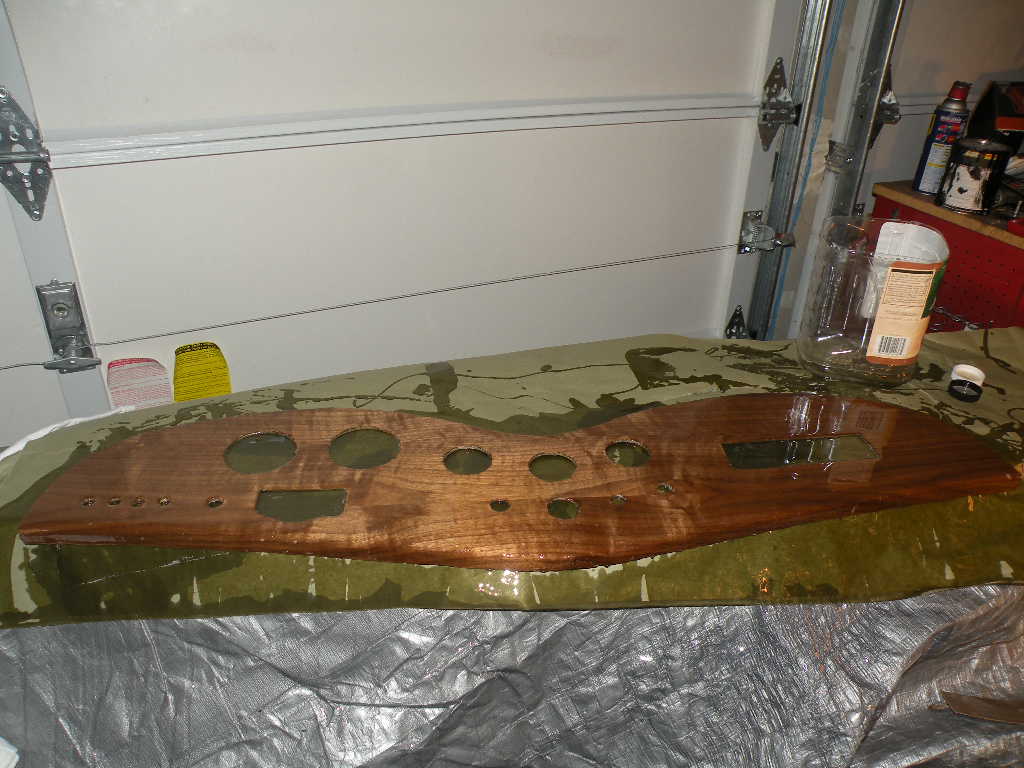
 February 7, 2010 at 8:38 am #240627
Looking good, Will. Looks like a 3/4-inch slab of number 1 walnut.
That epoxy finish looks to be a step or two above the polyurethane I’d instinctively reach for. Will it require much sanding to finish?
February 7, 2010 at 10:37 am #240628Veeeeery nice Will!

Can’t wait to see it on your car.
Ringo
February 7, 2010 at 12:46 pm #240629Ed,
The Veneer comes pre-sanded, so there is no sanding required. I only wiped it down with a tac rag to remove any dust. The directions said that 1/16 ” coat was equal to 50 coats of varnish.Will
February 7, 2010 at 6:05 pm #240630I’ll have to remember that when I do mine. I was thinking spar varnish, brushed on. Your way looks quicker and maybe better.
February 8, 2010 at 10:20 am #240631That looks sharp
 now comes the hard part, putting it all back together– DanFebruary 8, 2010 at 6:17 pm #240632
Washington Will, super job….looks awesome!!!

I had used spar varnish on my dash, like 20 coats, took forever. The picture of my dash in my photo gallery is the first rework from the original. I had used a contact adhesive with a veneer, top of the line stuff. After a year I discovered that the heat of the sunlight was actually causing the contact adhesive to soften and release
 . In my later photo that shows a view from the back of the car in the driveway, you can see the veneer starting to lift near the driver’s door. I removed the dash and laid it directly in the sunlight to finish the job of delaminating the veneer. I peeled the veneer off, cleaned the original mahogany, sanded, and refinished the mahogany. It is now finished, but not back in the car, yet. Be careful of the heat on the contact adhesive
  . It’s amazing how hot the sunlight can be on a wood dash. I have now pre-wired my instruments into a single plug that I can now plug into the wiring harness, so the install will be much easier….I hope. I should be able to simply connect the instrument cluster to the harness with the plug and socket, and attach the speedo cable after bolting the dash onto the car. Sounds easy in my head, but most stuff does.
 .
.Great job, just watch the sunlight heat on the veneer.
-
AuthorPosts
- You must be logged in to reply to this topic.