Home › Forums › MGTD Kit Cars › VW Based Kits › Relocating your E-Brake Lever
- This topic has 18 replies, 3 voices, and was last updated 14 years, 11 months ago by
 edward ericson.
-
AuthorPosts
-
January 2, 2010 at 10:09 pm #232858
Wow. Lotta rust, Will. New pans should fix you right up.
I was thinking about doing an e-brake move on Bridget. Not got started on it yet, but my research tells me it’s very doable. Here’s what I have so far. (Those of you who’ve actually done it please feel free to correct and advise as needed):
First, remove your e-brake level and cables. Save the lever. The buggie guys say the chrome replacement ones are junk.
Here’s a forum topic thread on relocating the e-brake in a buggie, shortening the cables, etc.
Looks like the fun part is reaching into the tunnel and cutting the guide tubes for the e-brake cables. They look to be on top. I’d figure on cutting open a wide swath of the tunnel–8-10 inches square maybe. I figure you can always put new metal over it later and hide the joint under carpet. I’d like to hear any voices of experience on this matter though.
My idea of what this looks like comes from this illustrated how-to on cutting the VW pan to shorten the frame by 14 1/2 inches.
this photo shows the tubes inside the tunnel. Looks like he is taking out the part about where we will mount the e-brake bracket.
The cables will have to be shortened by 20-21 inches. You could have new ones custom-made by someone like these guys . . . Or just pinch-shorten them.
Here’s your $6 cable shortening kit: http://www.berrienbuggy.com/id124.htm
The buggie guys say to drill out the set screw a little deeper, maybe dip the cable end in epoxy before assembly; one guy taps the thing for a second set screw as well. Insurance. Not a bad idea if you’ve got a drill press.
I was thinking cut out the whole e-brake assembly up front and just weld (or even pop rivet) some metal over that hole, cover it with carpet & call it a day.
I was thinking to weld the old e-brake bracket in the new aft position.
This was worrying me. Lots could go wrong there. Then I found that a new e-brake bracket is $35 here: http://www.vw-store.com/gussets.htm
It is my theory that the heater control levers could be left in place, especially if the old e-brake bracket is left there. Since in my case I’m thinking I’ll keep my old carpet, I might leave the old e-brake bracket in place and turn it into a fire extinguisher mount or something.
January 2, 2010 at 11:08 pm #240457Ed,
Thanks for the advice, alot of good detail. I did go out and look it over after reading your post and indeed I think cutting the whole piece where the handle is mounted is the ticket and i removed what was left of the boot to see where the cables attach. only possible snag I see is there is only 15.5 inches from the inspection plate that covers what appears to be the shift linkage to the shifter base. The e-brake will take 13.75 of that, which will place the top of the e-brake handle very close to the base of the shifter. This may not be a problem or I should say I guess we’ll find out. I will keep you and all who are interested posted. I looked at every car in the member gallery and any car I could identify as a vw kit that actually had a shot of the seat area showed the e-brake still up under the dash. If anyone has actually moved their’s please let me know how it went.Will
January 2, 2010 at 11:17 pm #240458I’ve managed with the e-brake up there under the dash. But moving it is a good idea.
The only comment I have is on Ed’s comment that he would be cutting an 8 to 10 inch square hole, then welding it up later.
That tunnel IS the strength of your chassis. Especially…ESPECIALLY since we’ve removed the steel VW body. Please try to minimize the size of the hole you cut for access to the tubes, even if you are welding it up again.
Paul Mossberg
Former Owner of a 1981 Classic Roadsters Ltd. Duchess (VW)
2005 Intermeccanica RoadsterIf you own a TDr and are not in the Registry, please go to https://tdreplica.com/forums/topic/mg-td-replica-registry/ and register (you need to copy and paste the link)
January 3, 2010 at 8:28 am #240459I was thinking maybe welding up thicker metal over the holes with like a half-inch overlap to keep the structural integrity. But since I don’t actually know how to weld I consider my opinions and theories on this point pretty dispensable.
Needs to be wide enough to reach the guide tubes and I don’t know how “loose” or moveable they are inside the tunnel.
January 3, 2010 at 12:05 pm #240460Ok well I took the cut off tool and cut a piece out around the e-brake about 2.5″ x 7″ and was able to lift the E-brake handle right out. as you stated there are two tubes with the brake cables inside attached to the bottom of the peice I removed the tubes and cut another whole in the top of the tunnel to the rear of the shifter “1.5 x 3” this is enouch for the lever mechanism to sit sown in the whole and the plate to stradle the whole all the way around. it only gives me about 1.5 inches between the brake button and the base of the shifter when the handle is all the way down and the shifter is all the way back but that seems to be enough and looks way better. I will clean up the edges and weld it in place. now the hard part will be how to get the tubes to where I can cut them and re attach them to the new location before welding. The tubes run on either side of the shift linkage they are fairly ridged and that part of the tunnel is pretty crowded. I will need to cut them swing them up on either side of the shift linkage and reattach them to the rear of the handle plate. I’ll keep you posted and take some photos to document the process.
Will
January 3, 2010 at 10:02 pm #240461Ok well I was able to cut the tubes that guide the e-brake cables without cutting any additional access holes in the tunnel. I was able to access the tubes from the hole I cut in the top to mount the e-brake. The two tubes run along the sides of the tunnel and form a “Y” as it passes the inspection plate and heads toward the rear tires. I cut the ends of the cables off and pulled them back through the tubes to the rear and out of the frame. I was able to use two long screw drivers and place one in front of the tube at the inspection plate hole and one in between the tube and the tunnel wall in the new hole and pry it outward then I moved the screw drivers forward and bent the tube the oppisite way now in an “S” shape and accessable through the new access hole. I repeated the process on the other side and then took the sawzall and cut them at the rear edge of the access hole. I fished the cables back through the tubes to the new hole and once I weld the handle back into place over the whole I will use the new cable ends, Ed gave me the link to. I will photograph everything and post before I finish the install. It went suprisingly easy. Hope this helps anone who wants to give it a try.
January 4, 2010 at 8:45 am #240462Will, this is huge. Thanks for showing the way. I will save this thread–and the forthcoming photos–as a “how-to” for the job. I actually didn’t know about the inspection plate back there. Great to know there’s no need to go big with the hole, and sounds like you’re using the original bracket too. So (not counting the new floor pans) you’ll have like, what? $7-$8 in this mod?
That’s a budget I can live with!
 January 4, 2010 at 9:38 pm #240463
Ed, Thats why this site and club is so great it was your info that led my couruosity to take the chance here are the first few pics and still a ways to go. This photo shows the e-brake sitting in the new position nothing has been cleaned up and welded yet but this is where it will be
Washington Will40183.3845833333
January 4, 2010 at 9:44 pm #240464Here is another shot showing where I removed the e-brake from, which I will have to patch of course and the e-brake sitting over the new hole
January 4, 2010 at 9:51 pm #240465Here is a picture of the access hole under the inspection plate and the new e-brake hole in front of it. you can see the brake tubes make sort of a “Y” on either side of the shift linkage. I did kink one of the tubes somewhat ehen I rerouted them but the cables are so much smaller then the tubes they still move without resistance. I cut the tubes at the very edge of the new e-brake hole and will shorten the cables and add the mechanical ends shown in your link after everything is welded in place.
January 4, 2010 at 9:58 pm #240466In this one you can Barely see the end of the tubes where the cables come out they will line up perfectly with the underside of the e-brake mechanism. I ordered the floor pan halves and I mis-spoke in my previous post they were $150 per side not total. Thats ok when we are all done it will be a complete frame up restoration. I hope to have the pans in and the welding done by the end of this week or the beginning of next I will keep you posted and send more photos of the process and finished product.
January 5, 2010 at 8:08 am #240467Will, a million thanks. That’s nice work. Looks like that inspection port makes the job almost easy. Or maybe you’re just making it look easy.
January 7, 2010 at 12:11 am #240468Hi Will…and everyone else.
I just learned that as an admin (albeit with limited rights) I am able to move posts from one thread to another.
It was my suggestion, I moved all the great posts about moving a VW E-Brake lever to this new thread.
Paul Mossberg
Former Owner of a 1981 Classic Roadsters Ltd. Duchess (VW)
2005 Intermeccanica RoadsterIf you own a TDr and are not in the Registry, please go to https://tdreplica.com/forums/topic/mg-td-replica-registry/ and register (you need to copy and paste the link)
January 7, 2010 at 1:04 am #240469Paul,
Well done thanks, hope to have the finish to this thread in the next week or so.
WillJanuary 7, 2010 at 9:07 pm #240470Thanks Paul. And thanks again Will. Someday I hope to post actual useful info instead of just idle musings/theories.
January 8, 2010 at 1:05 am #240471Ed, you have posted useful info it was your post at the beginning of this thread that showed me what I was up against and how to shorten the cables. The musings are fun too. It is the camaraderie and advice that brought me here and keeps me checking back daily. It is also cool how some of the members have actually gotten together at meets or near their homes. Thanks to the member list I was able to meet Chuckonwhidbey and found out he has a migi like mine and lives fairly close we havn’t gotton together yet but we are hoping to do so soon. it would be nice to go on a run with others, meet at a show or have a local replica club like some of the other members do. I have talked to my wife anbout taking some road trips next summer who knows we may be able to look up some of you along the way. My friend that owns the hotrod shop does a crosscountry run every year from Seattle to Cape Hatteras NC with one of his latest creations. I would like to do that too one day.
January 8, 2010 at 6:53 pm #240472Thanks for the kind words, Will. You’re on my visit agenda next time I’m out west. Or look me up if you ever get to Baltimore.
February 27, 2011 at 10:01 pm #240473Got started on my e-brake relocation project, finally. 14 months to think about it is just about right…
So here we have the interior, carpets all pulled out (and the door panels ’cause I’m making new ones of those too):

Cutting out the e-brake bracket–fun! Ruined a new cutoff wheel collet with just one wheel. Jig saw=NG; broke about five blades bouncing them off the tunnel. Sawzall too scary to use here ’cause of all the other tubes and cables down in the tunnel…
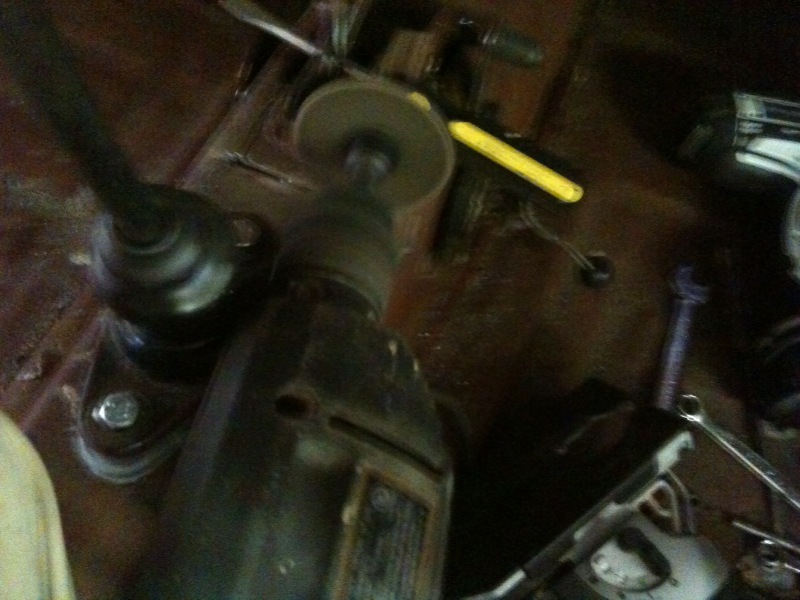
but the wheel eventually got ‘er done.
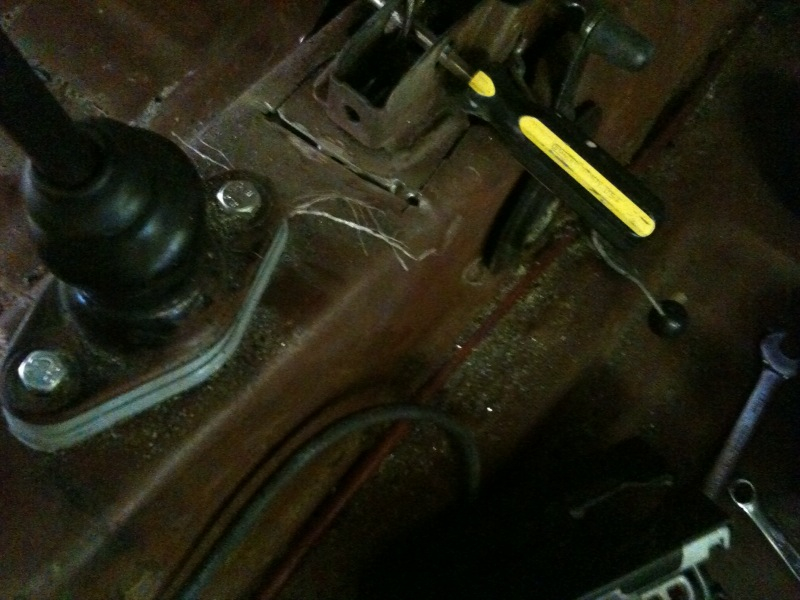
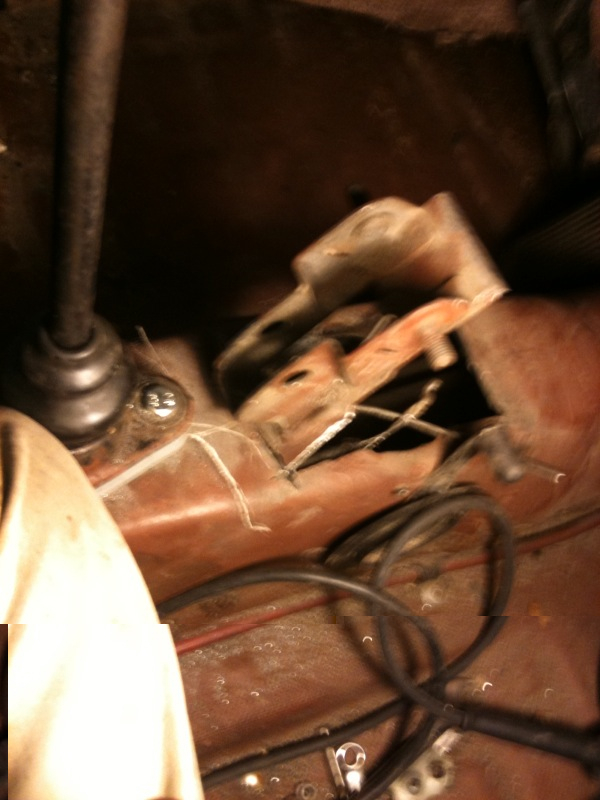
Laid the bracket and handle back where it might do some good in an emergency situation.
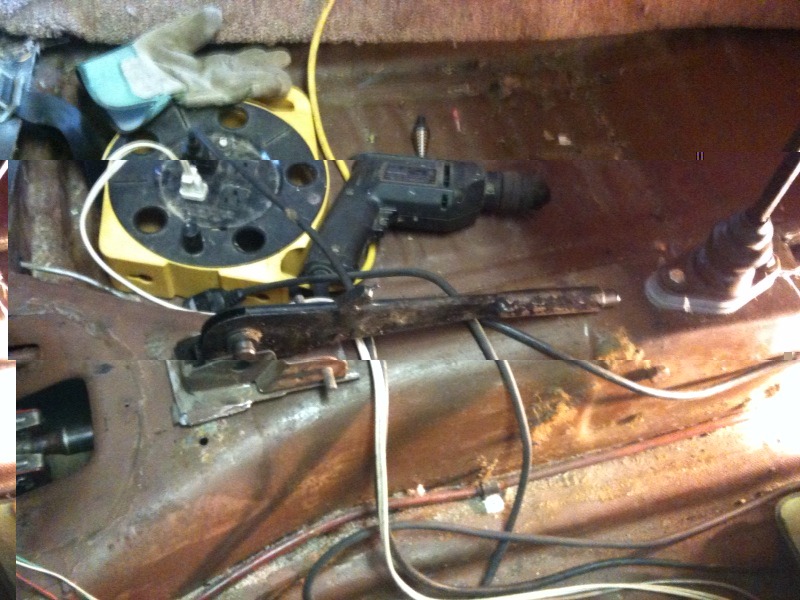
Looks like my shifter is a bit forward of where Will’s is. Plenty of room. So I cut the hole in the back: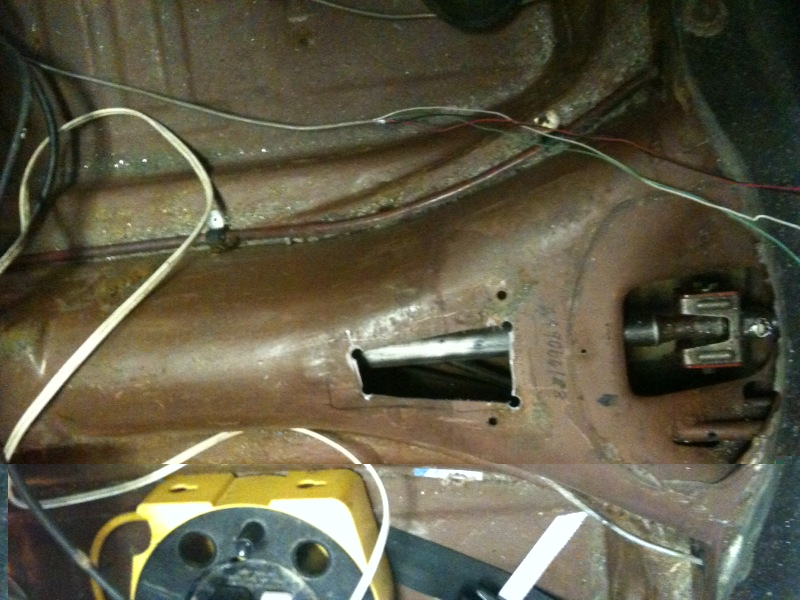
Nice and small. And then I pulled the cables back through from the back of the car and started fishing the tubes out so I could cut and bend them into place. Got one almost done–again, going slow ’cause the clutch cable runs right by this one & there’s a bunch of other stuff under/next to these that I don’t want to disturb much.
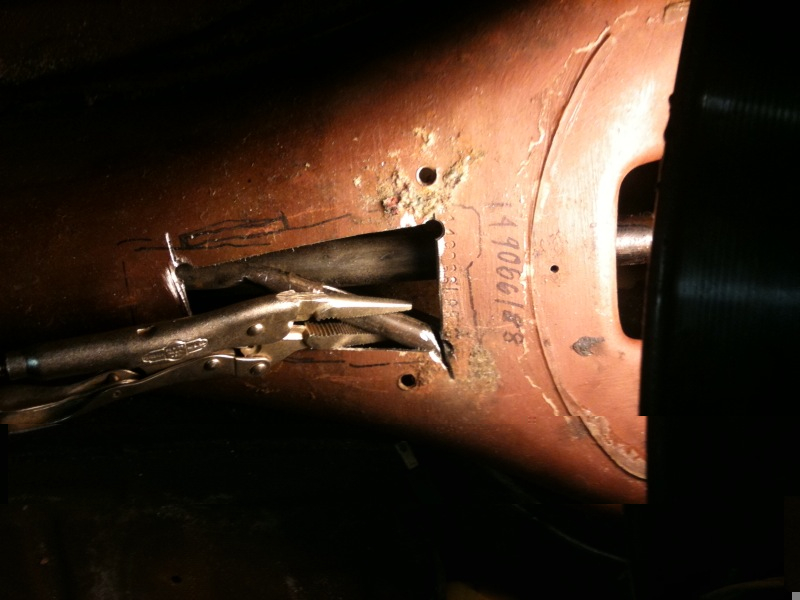
now it’s late and I’m tired. Hope to get back to this Friday. Progress is made.
edsnova40601.921400463
March 5, 2011 at 9:38 pm #240474More progress made.
half-hacksaw helped get the tubes cut:
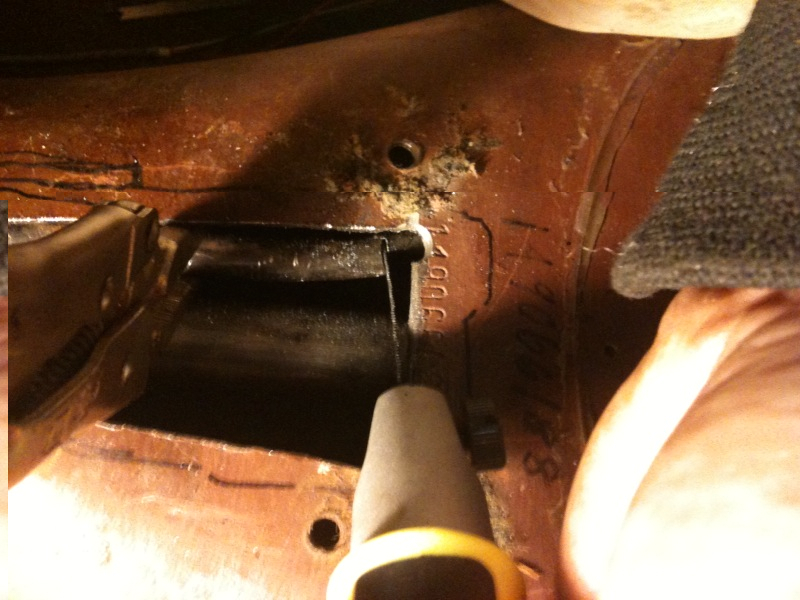
Got the lever in place and socked in four sheet metal screws to hold it while I cut the cable and test-pinched them into the new cable ends.

Got that all together and started on a new bracket to hold the heater lever.
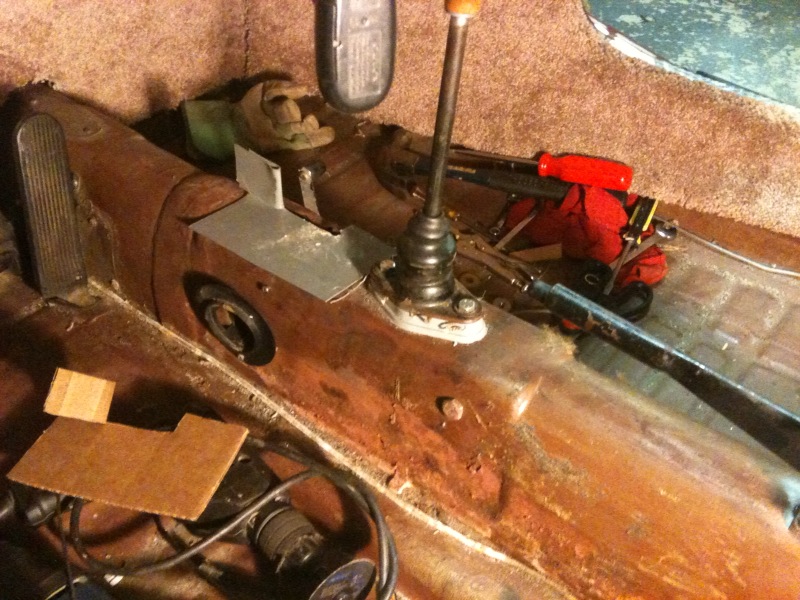
So far, so good. Looks-wise, anyways.
-
AuthorPosts
- You must be logged in to reply to this topic.
