Home › Forums › MGTD Kit Cars › My Project › Another project reported
- This topic has 224 replies, 22 voices, and was last updated 13 years, 6 months ago by
 ray10.
-
AuthorPosts
-
July 15, 2011 at 9:19 pm #244692
Anonymous
InactiveGot the engine build for now but the next hurdle is the transmission and rear end. The Chevette rear end has an space eating extention and is not rated for V8 power. A Chevy S10 rear end is almost the right width but uses leaf springs and has a different wheel bolt pattern. Could get the car running with the autromatic and do the stick trans/rear end swap later. Or take a semi major side track and redo the rear end. The Miata rear end is 5 inches to wide, but has the right disc brakes, IRS, ease of fabrication, 4 lug bolt pattern. An MG TD with flares?????
July 18, 2011 at 8:41 pm #244693Maybe a TD dually??
 July 18, 2011 at 9:33 pm #244694
Didn’t our spacecraft builder guy use an S-10 rear? Or just the engine?
July 19, 2011 at 2:11 pm #244695An 8″ Ford came in all V6 powered Pinto variants (Mustang II, Bobcat) and all the Pinto and Bobcat station wagons had them too.
I like them because the 3rd member is a “pumpkin” style that can be built on a bench or swapped out easily. I actually have two complete 8″ Pumpkins, one a 3.80 and one a 3.55 for my 40 Ford.
These are narrow, but the same rear from an Early Bronco or Ford Maverick/Granada/Versialles is about 1/2″ narrower. These rears have a VERY large selection of gears, posi units, etc.
Mounting a torque arm style set up in your car with coil overs may be the ticket. Only lower control arms and a panhard bar are required with a torque arm set up. You also get traction up the whazoo and no acceleration wheel hop.
Pink MG40743.5915856482
July 22, 2011 at 6:56 pm #244696I just used the s-10 engine & tranny. I did use the S-10 front brake calpers & plumbing with custom disks to keep the 4 on 100 bolt pattern.
No trees were injured in the making of this message, but some electrons were inconvenienced.
August 27, 2011 at 1:21 pm #244697Anonymous
InactiveBack on track. Going to run the Dynaflow auto trans that came with the motor. The rear end swap caused by manual trans
 is more money and time than I care to spend at this time.
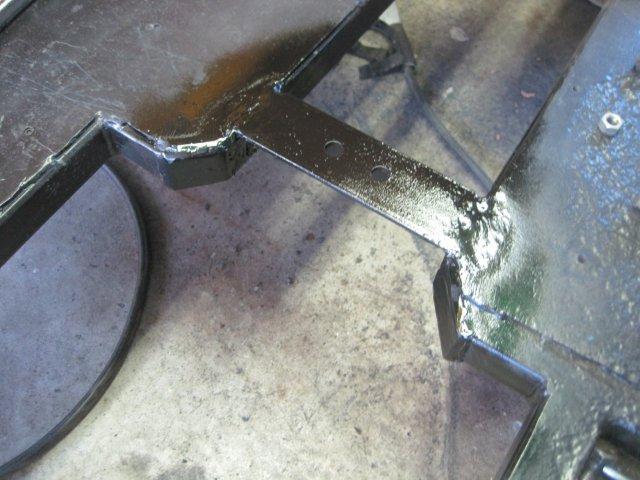
 Lined up the rear end extention and the tail shaft of the the trans and welded in a mount with rubber trans mount.
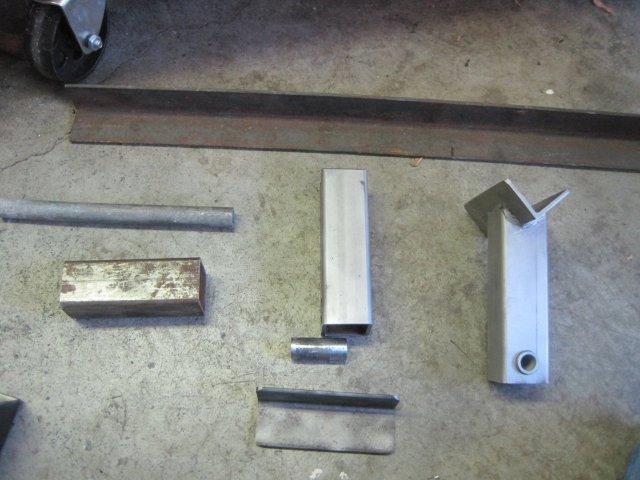
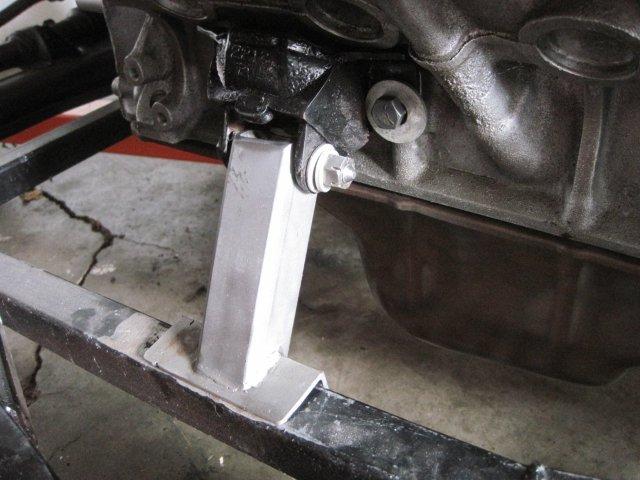
Built a set of motor mounts but was not stout enough when finished so redid them. Think the drive train is now in its final postion.
Would now like to start the firewall and build the engine.
August 27, 2011 at 1:23 pm #244698Anonymous
Inactivemotor mount build
 August 27, 2011 at 1:24 pm #244699
Anonymous
Inactivemotor mount placement
 August 27, 2011 at 3:54 pm #244700
Looking good.
 February 28, 2012 at 1:25 pm #244701
Anonymous
InactiveWood fire walls are subject to termites. Stainless steel seems good. Plywood, cardboard and some tape for a pattern.
February 28, 2012 at 1:28 pm #244702Anonymous
Inactive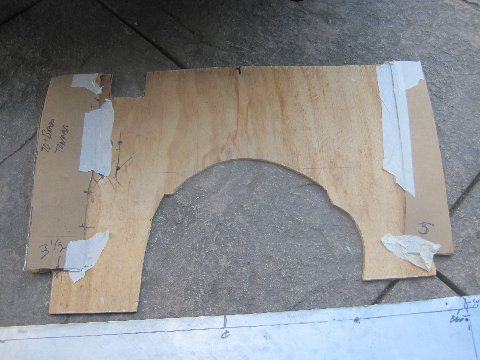 February 28, 2012 at 1:36 pm #244703
Anonymous
Inactive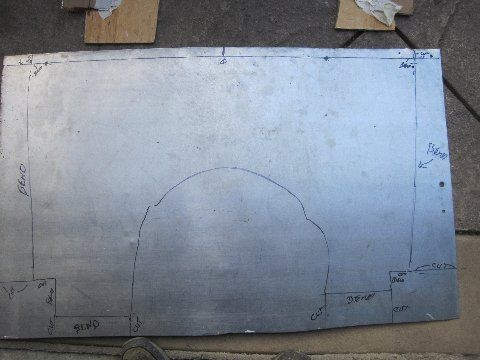
Transfer to stainless sheet with Sharpie pen.
February 28, 2012 at 1:39 pm #244704Anonymous
Inactive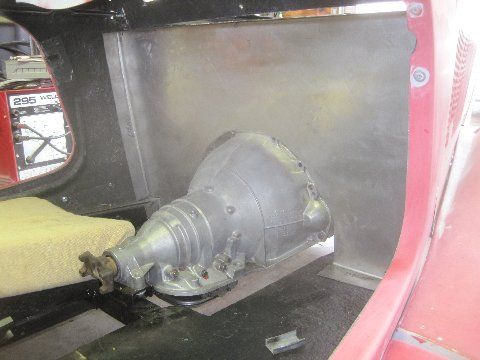
Old school bending with vise grips, angle iron, brass hammer or yes and a new to me metal cutting band saw 1950’s
February 28, 2012 at 1:42 pm #244705Anonymous
Inactive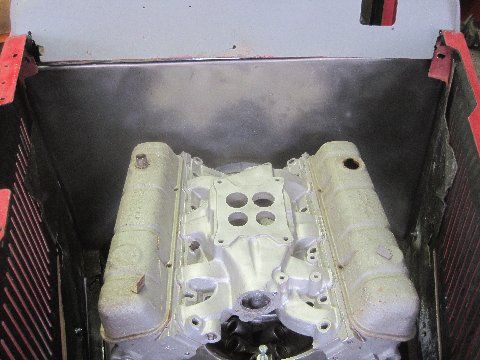
Steel makes a better “fire wall” than wood. Agree? Now I got another place to hang some stuff.
February 28, 2012 at 2:08 pm #244706Glad to see your build is moving along!
Paul Mossberg
Former Owner of a 1981 Classic Roadsters Ltd. Duchess (VW)
2005 Intermeccanica RoadsterIf you own a TDr and are not in the Registry, please go to https://tdreplica.com/forums/topic/mg-td-replica-registry/ and register (you need to copy and paste the link)
February 28, 2012 at 6:04 pm #244707This is the first that I’ve looked at this thread.
First, let me say I am impressed with the all the fabrication
you’ve done on your own.
Have you solved your dilemma with the rear?
Personally, I used a Ford 8″ from ’78 Mustang, removed the leaf springs
and replaced them with control arms using the original mounts.
Added a cross member and mounted coil overs and panhard rod.
Please post more photos.Bill Ascheman
Fiberfab Ford
Modified 5.0, 5sp., 4:11
Autocross & Hillclimb
"Drive Happy"February 28, 2012 at 6:27 pm #244708Anonymous
Inactive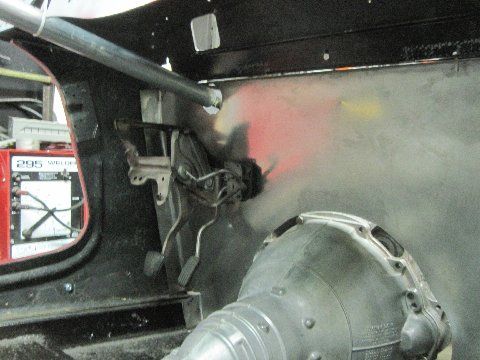
So now there is something to hang stuff on and put holes in. Brake and gas pedals, believed to be Chevette were positioned. Hole was punched for the steering column also believed to be Chevette guts with hame made wrapping.
February 28, 2012 at 6:34 pm #244709Anonymous
Inactive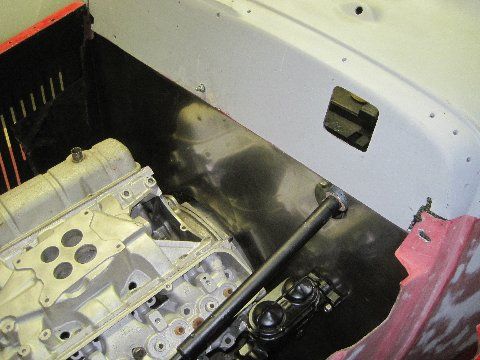
Believe me I did these in order. They just don’t post that way.
Next after hanging the pedals the master cylinder and steering column spacing was determined and taken care of.February 28, 2012 at 6:51 pm #244710Anonymous
Inactive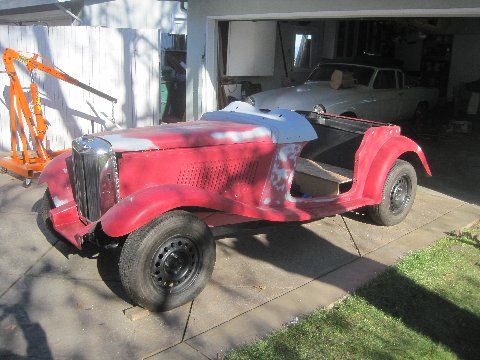
Feeling very accomplished I cobbled on some more parts and pushed it out on the driveway.
February 28, 2012 at 6:53 pm #244711Anonymous
Inactive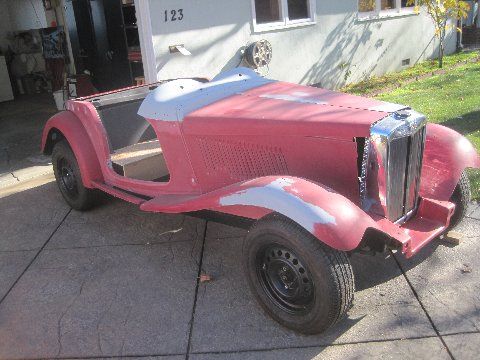
It was out there quite a while and no action. Guess its not a chick magnet quite yet.
February 28, 2012 at 7:07 pm #244712Anonymous
Inactive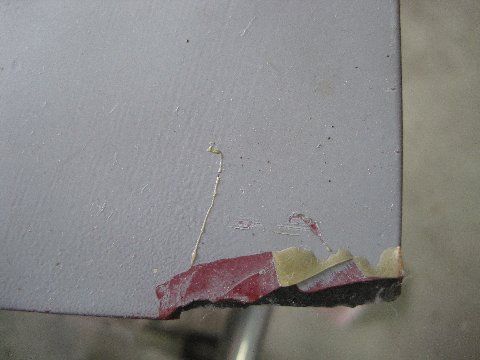
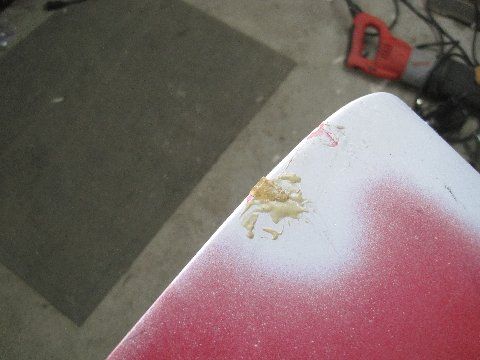
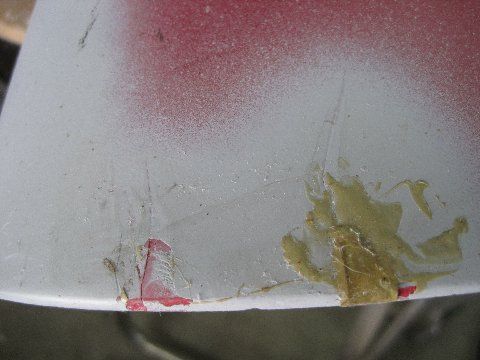
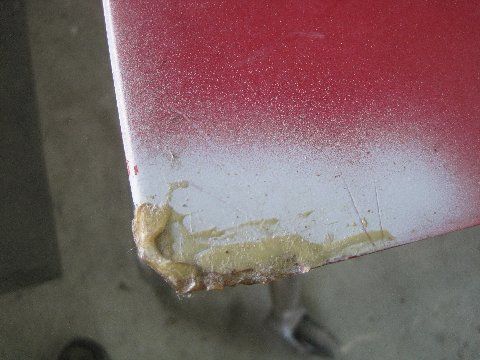
I know MG’s are chick magnets. Why is this one not working that way?
Maybe it was the quality of the fiberglass repair done by who knows.February 28, 2012 at 7:23 pm #244713impressive work Scott..
February 28, 2012 at 7:28 pm #244714Anonymous
Inactive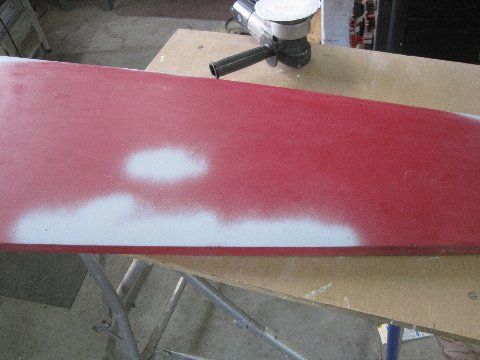
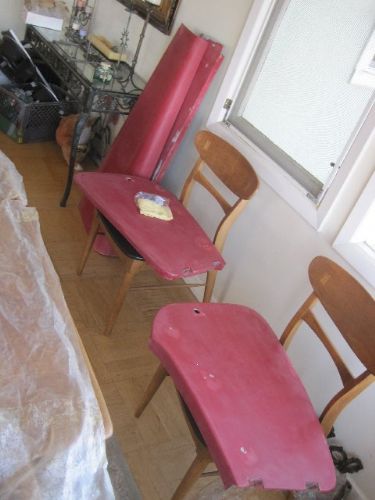
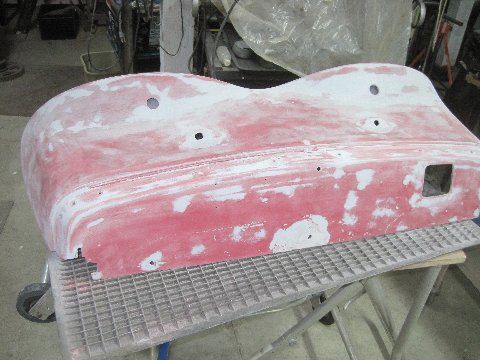
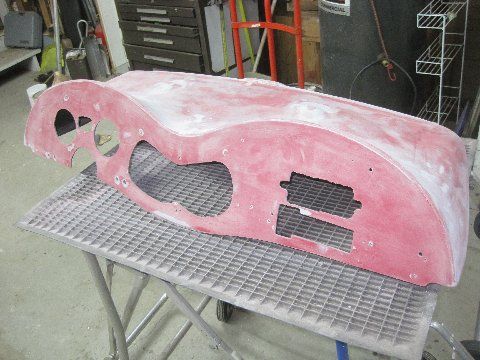 OK a da sander and some primer on the workbench in the garage. Average.Picture two looks like parque hardwood floor and dinning room chairs?It got cold for Nor Cal the day the fiberglass needed done. It HAD to come inside!Don’t try this at home! Wife was away. (Been gone about 10 years)Dash board was covered in primer. It needed to come off to see what was coverd up.It was somewhat banged up and ready for a new 8 track under the radio?February 28, 2012 at 8:06 pm #244715
Anonymous
InactiveWARNING! OK now we enter sensitive material. Urban legend, twilight zone or worse. Those who are offended I apologize. Building a kit car was on my bucket list. Seems ok. Well the legendary $50 paint job is also on that list. Can it be done? What does it look like? Does it last? What kind of shine? Good from 50 feet, but not 5? Inquiring minds want to know. Lots of pro and con on the net. Goggle “$50 paint job.”Rustolum is the touted paint for this. I went a different way. Our cars are fiberglass and exposed to the elements. Just like a boat. So off to West Marine and got some Interlux Briteside polyurethane paint.
Application could be spray or rolled. I went with roll, in fact two part roll called “roll and tip”. Basically you roll the paint on with high density roller and IMMEDIATElY go over it with a brush to smooth the paint and remove any bubbles. The paint is self leveling. Again lots of info on the net for the paint and the application.February 28, 2012 at 8:18 pm #244716Anonymous
Inactive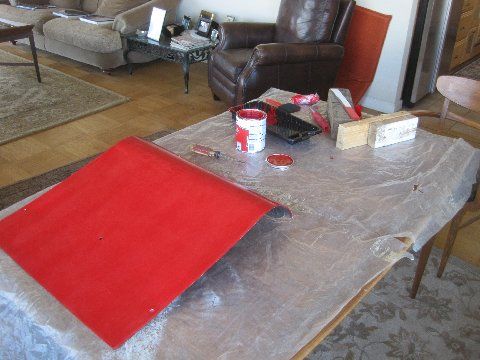
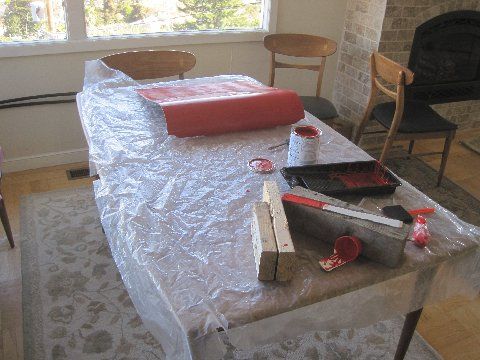
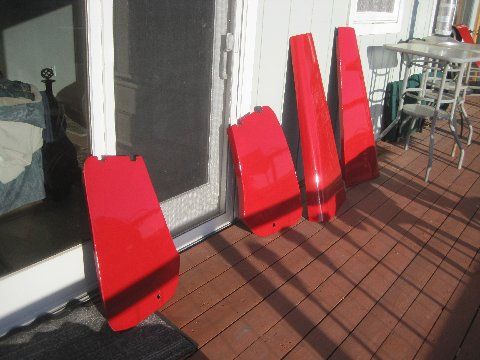
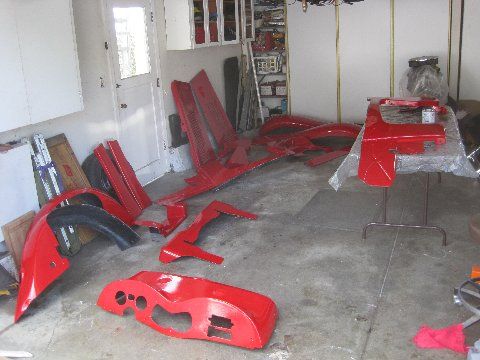
While they are not all shown, everyone got their first coat. Yes it takes awhile to paint this way. This would be a great job for two people. One rolling and one tipping. By doing small areas, 2 or 3 sq ft, one person can do it.
The paint can says 50 degrees for application. So again had to go inside a couple times to get warm. -
AuthorPosts
- You must be logged in to reply to this topic.
