Home › Forums › MGTD Kit Cars › My Project › Running Progress Report
- This topic has 218 replies, 24 voices, and was last updated 12 years, 8 months ago by
Mike Schumacher.
-
AuthorPosts
-
January 24, 2012 at 4:59 pm #247362
Here is one more tip.
I have reaserched this dub stuff to death.I still am not sold on dubs.
However there is alot of little tricks with a rebuild on a vw.
case can be align bored for both crank and cam bearings,BUT only enough to clean the sadles up.crank and cam turned,agian just to clean them,Now this is where someone that knows what the H E double tooth picks knows what they are doing.Machine the oversized bearings for poper clerance on the new cam,crank,and sadle specs.
Oh sorry Fantastic job so far,I told u u could do it.
buzz
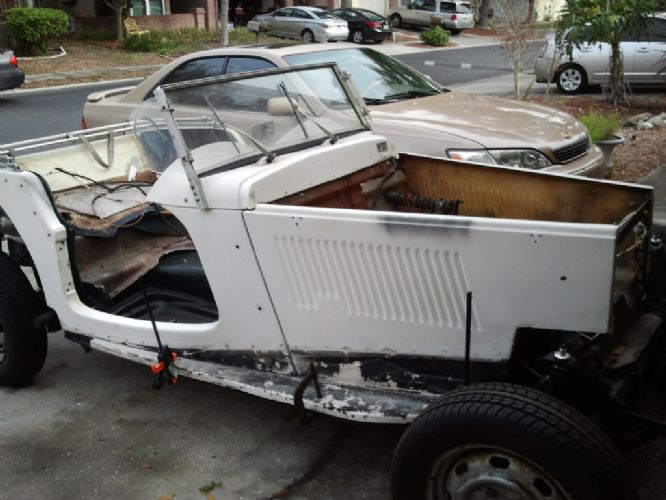
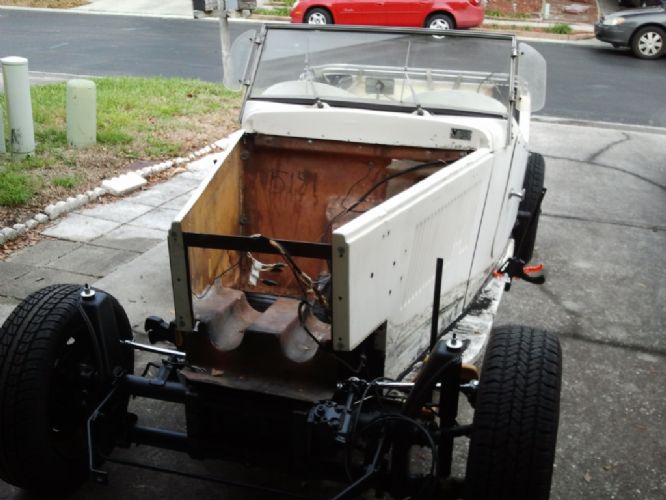
February 21, 2012 at 11:06 am #247363THE BODY IS ON!!!
It doesn’t look like much but it represents a heck of lot of work and experience.
I am still waiting on my engine rebuild kit so I decided to run my checklist for putting the body back on the chassis. Turns out I had almost everything done. So I took care of the outstanding items, called my boys over, and voila!
The crowing moment was when we checked all the old holes on the body against those on the new frame. Go figure…they all line up! Other than a little twisting of the 30 year old fiberglass body it went on like a glove.
Looks pretty rugged but knowing where we came from to now….it’s beautimous.
 February 21, 2012 at 12:48 pm #247364
That’s quite good, Rocky. Bravo.
February 21, 2012 at 6:12 pm #247365Rocky, You’re looking good!!!! Please accept my apologies for suggesting you should have found another VW pan. You’ve actually got a new one ,one that you built yourself.Can’t wait to see it when you are done.
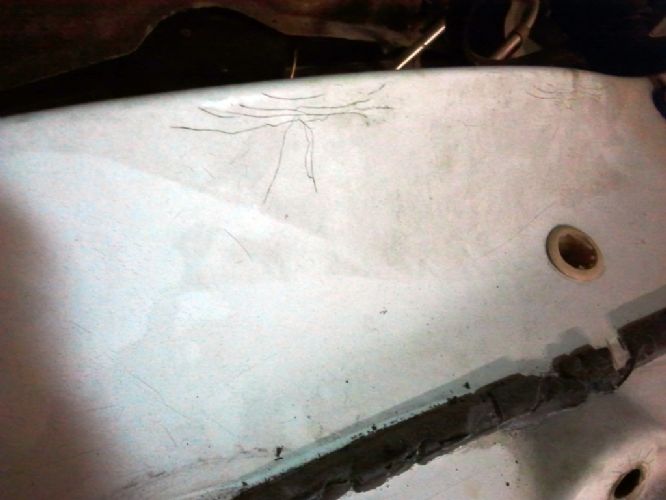
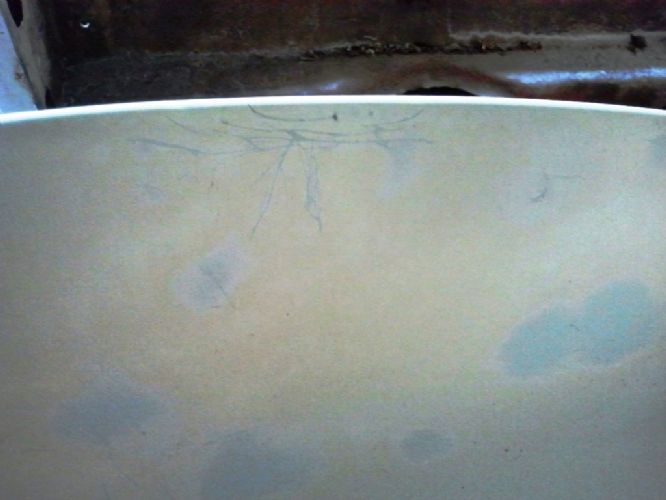
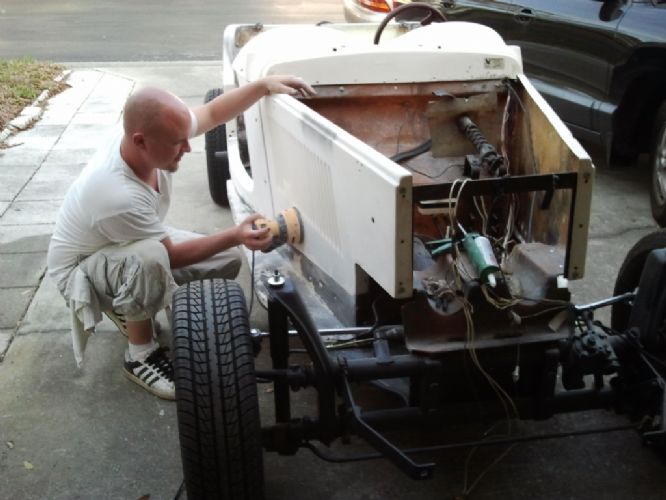
March 10, 2012 at 4:54 pm #247366With the body in place my son is touching up the fiberglass in
preparation for the first coat of primer. He’s doing a great job and
showing me a few tricks along the way.There are a few spider web cracks but for the most part it’s just
plugging chips and nicks. There are a few places where the fiberglass
is rippling and he’s filling those in and smoothing them out as well.
He’s almost as obsessive as I am.Here are a few pics
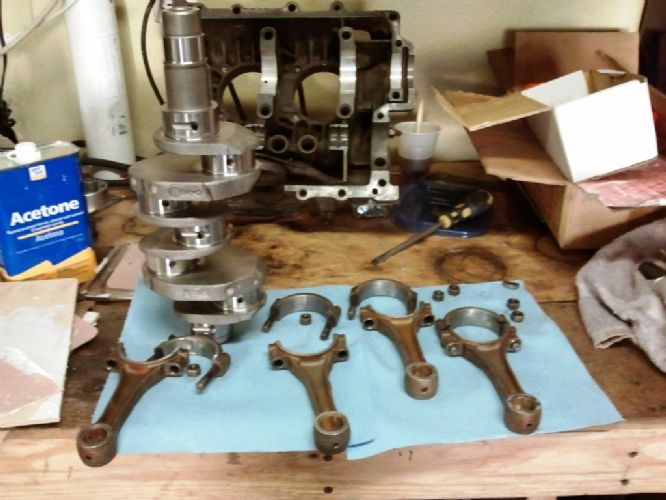
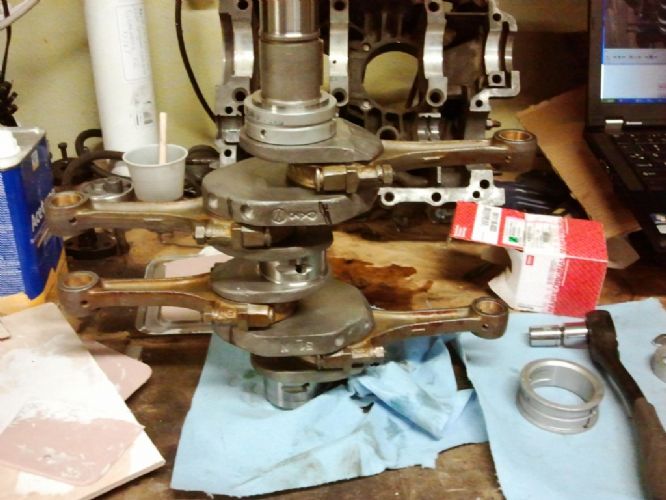
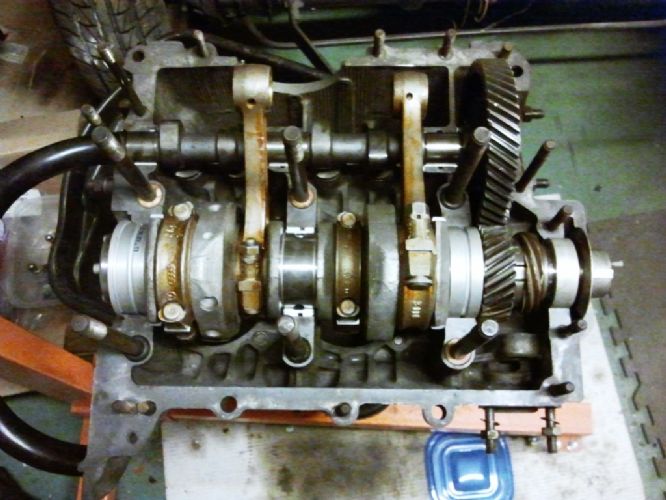
In the mean time my engine rebuild kit finally arrived and I started
“re” building my motor. I think it’s more like recreating since the
case is just about the only thing remaining from the original
powerhouse.Here are some pics.
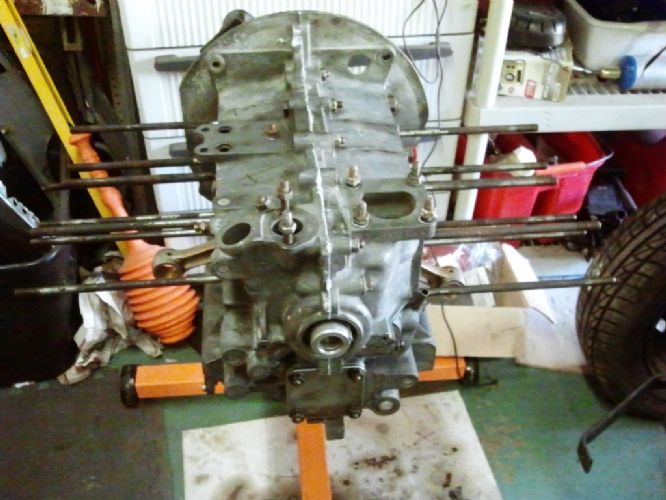
I hope to finish the long block build next weekend but still need all
the exhaust pieces. I had some that came with the car but I’m not sure
how useable they are. I guess I’ll head over to storage and see if I’m
gonna have to spend more money. Wanna bet which direction it goes?One other piece that will hopefully start next weekend is the rewiring. Here’s what I’m starting with. Nothing but fun.
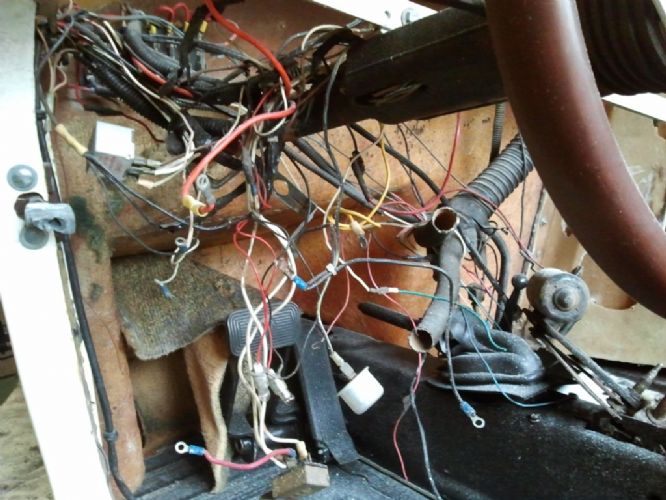 March 10, 2012 at 5:05 pm #247367
Rocky …and I thought my wiring harness was like spaghetti.
I look forward to seeing your rebuild.March 10, 2012 at 8:19 pm #247368Progress! Way to go, Rocky.
March 11, 2012 at 4:39 pm #247369rockyx wrote:With the body in place my son is touching up the fiberglass in preparation for the first coat of primer. He’s doing a great job and showing me a few tricks along the way. … for the most part it’s just plugging chips and nicks.I have a few spots that need plugging, too. What are you and your son using to fill them in?1981 Lafer TI
1600 cc Type 1 engineMarch 12, 2012 at 7:55 am #247370Bill,
We’re using a marine grade resin with short strand fiberglass. Can’t recall the brand but the key is short strand fiber.
So far it looks like it primes and paints ok but we’re still watching it since we’ve only done spot tests.
March 12, 2012 at 3:43 pm #247371What color are you going to wind up painting it?
March 13, 2012 at 7:14 am #247372The body will be dark cherry red and the fenders will be black. The interior will be tan, or camel those high brow folks.
April 19, 2012 at 11:58 am #247373Normal
0false
false
falseEN-US
X-NONE
X-NONE/* Style Definitions */
table.MsoNormalTable
{mso-style-name:”Table Normal”;
mso-tstyle-rowband-size:0;
mso-tstyle-colband-size:0;
mso-style-noshow:yes;
mso-style-priority:99;
mso-style-qformat:yes;
mso-style-parent:””;
mso-padding-alt:0in 5.4pt 0in 5.4pt;
mso-para-margin-top:0in;
mso-para-margin-right:0in;
mso-para-margin-bottom:12.0pt;
mso-para-margin-left:0in;
line-height:12.0pt;
mso-pagination:widow-orphan;
font-size:11.0pt;
font-family:”Arial”,”sans-serif”;
mso-ascii-font-family:Arial;
mso-ascii-theme-font:minor-latin;
mso-fareast-font-family:”Times New Roman”;
mso-fareast-theme-font:minor-fareast;
mso-hansi-font-family:Arial;
mso-hansi-theme-font:minor-latin;
mso-bidi-font-family:”Times New Roman”;
mso-bidi-theme-font:minor-bidi;}Once again I’ve been consumed by work and
family stuff but I have managed to get some
time in the garage and keep pluggin away at the engine rebuild. And guess what….I’M DONE!!!Because I don’t have an engine test stand
I will have to reinstall it in the car to do the initial start so I hope I
didn’t mess anything up. Hopefully I’ll
get that done this coming weekend.
Getting nervous just thinking about it.None the less, I’m thrilled with the
major milestone. I thought I’d never get
here. Besides the time issue, I kept
finding out that my engine didn’t come with all the parts. So I had to stop and order 1 of this or 2 of
that. And then my rebuild kit was
missing a couple of gaskets and the oil screen was defective.EDITORIAL OPINION : I would never buy another part from
MOFOCO. I can understand when things
happen and a kit comes up missing a part or two or you get a defective oil
screen. But the lack of communication,
misleading information, and angry attitude I got from the company was more than
I could handle. NO MORE MOFOCO.Anyway here are some pics of the build
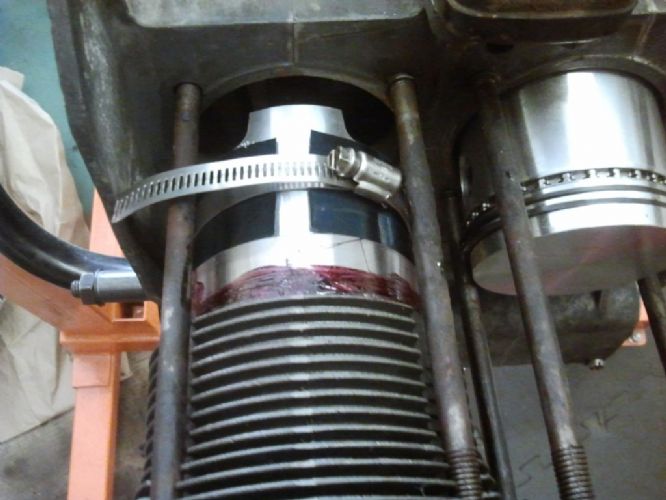
process down to the final assembly.Traditional ring compressor didn’t work so I improvised.
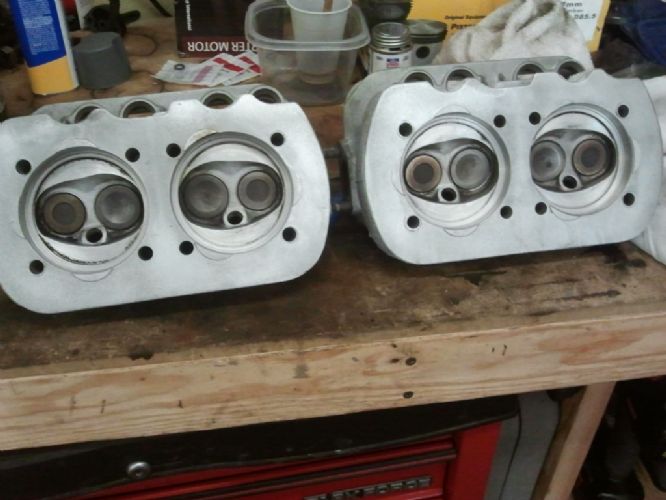
Almost new heads…Thanks Scott
Had a little trouble. I wasn’t paying attention and bolted them in upside down…crack!
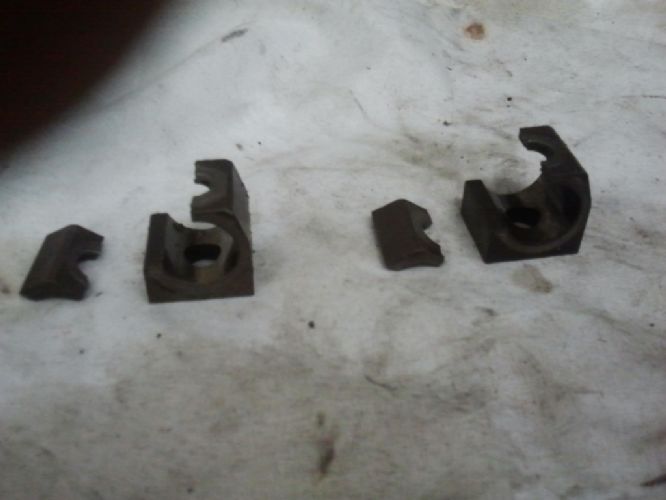
Here’s what I got from MOFOCO…TWICE!!!
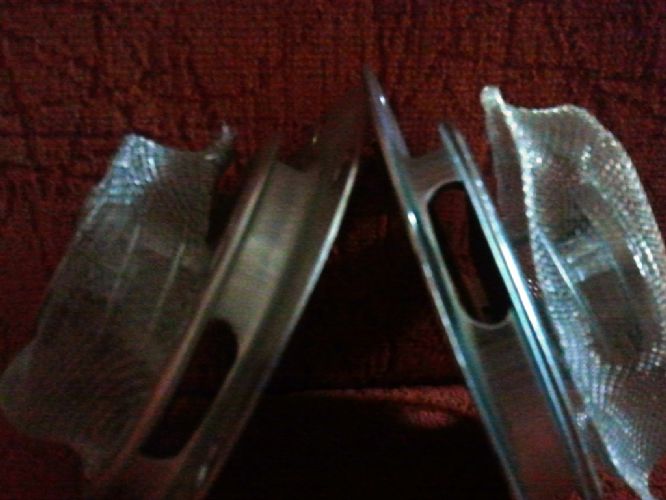
Here’s what I got from Advanced Auto….next day!
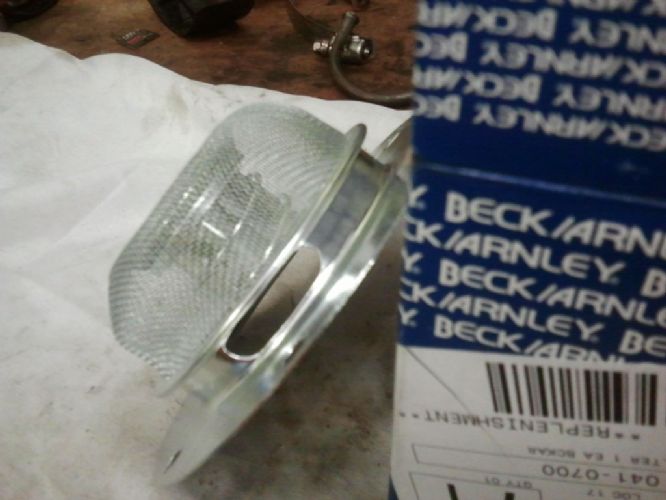
AND THERE IT IS!!
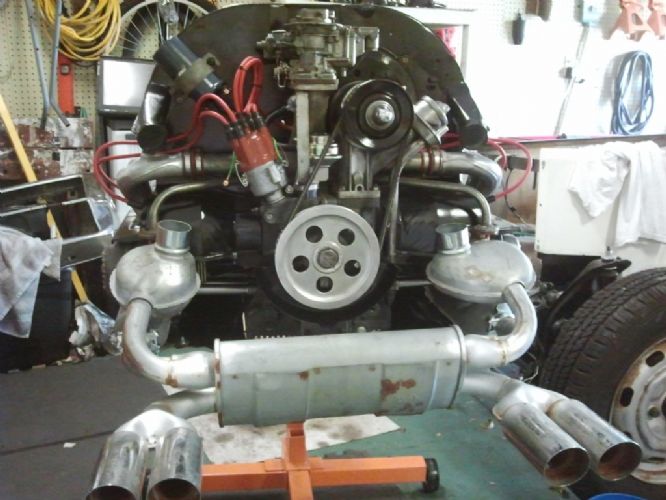
And here I am…happy as can be!
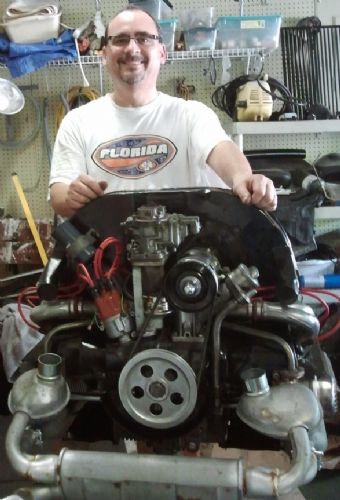 April 19, 2012 at 12:45 pm #247374
Rockyx, Looks great, just like your other work. I used the same ring compressor that you did, worked good also. My rebuild of recent went well and I now have about 750 miles on my new engine without a hitch. Seems to be running smoother each day and idle speed has crept up. I don’t know how you did it without an engine stand, might be an age thing as I have a decade or more on you.
I turned mine over while still on the stand and built up oil pressure, then took compression pressures and started and tuned it up on the stand. You could do all this without installing the engine just on the garage floor on a non flammable surface. What you really need is a piece of cut bell housing with a starter motor mounted on it. I was lucky and got one at a garage sale but if you have an old school VW shop, they probably have a few laying around and then you would have a spare starter motor if you did not want to pull yours. Otherwise, fortunately, these are not too difficult to install, just be careful not to bend the input to the transmission. Nice to have another member who really likes to do his own work. You may want to read my thread, I also CC’d the heads before I put it together because I was worried about having some sky high compression ratio. Good work. Nice job.April 19, 2012 at 4:31 pm #247375rockyx
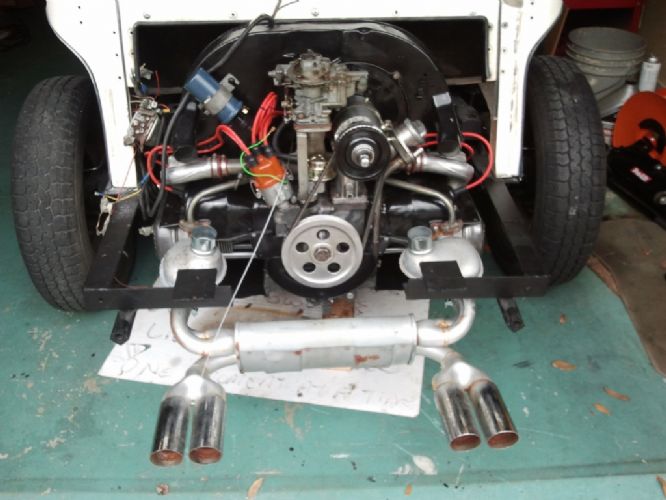
Happy to hear you were satisfied with the heads,sorry to here of the mishap.Just a tip for anyone in the future I did not use or need a ring compressor when I put mine toghether.Ther is a slight taper on the case side of the cylinder,so I loaded the piston in the jug and then installed as a unit,takes some strong fingernails to work the ring into the jug but it can be done.Also helps to have a THIRD hand when installing as a unit.As usual I didn’t but got it done.May 5, 2012 at 1:24 pm #247376After dealing with a bent flex plate that wouldn’t let the fly wheel move, rebuilding the leaky carburetor, finding out the new distributor was bad, and hooking up the starter wrong (duh)…..I FINALLY GOT IT STARTED!!!!
And man does it sound sweet and smooth. I used the sport exhaust that came with the car and it sounds really nice.
I did not have a set up to start it on my stand so I had to put it in the car and do the test stand wiring. And after some youtube searching I figured out how to do the minimal set up. Finally, today I brought life into the beast.
One thing I forgot about was the oil pressure plug. Mine is manual and I had nothing to plug it with. So when I first started it a jet stream of oil shot across the garage. I guess that means I have good oil pressure.
I could only use one hand once it was started because I was plugging up the oil with the other.
I still need to dial in the carb (running rich) but I can’t stop smiling.
Here’s the full picture in the car and one that shows the wiring.
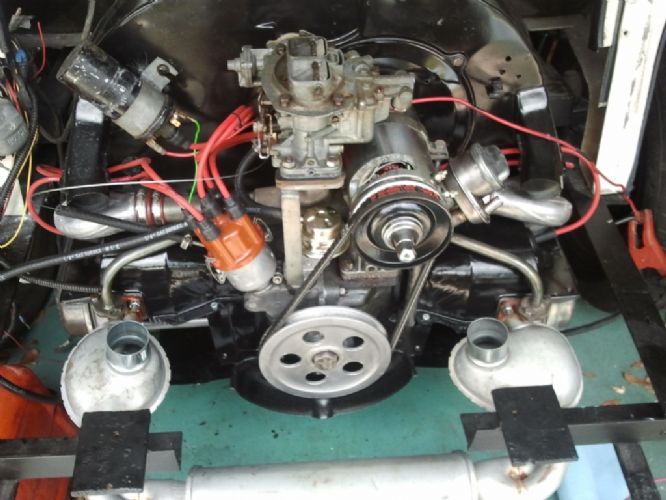
I’ll get the carb dialed in later this weekend.
One more milestone checked off. Wooooohooooo!
May 5, 2012 at 2:46 pm #247377Great work Rocky!
And great to see the progress!
Paul Mossberg
Former Owner of a 1981 Classic Roadsters Ltd. Duchess (VW)
2005 Intermeccanica RoadsterIf you own a TDr and are not in the Registry, please go to https://tdreplica.com/forums/topic/mg-td-replica-registry/ and register (you need to copy and paste the link)
May 5, 2012 at 5:16 pm #247378Excellent!
June 11, 2012 at 12:39 pm #247379As I mentioned before, following a successful engine build, it’s on to
the wiring. I pulled down the wiring diagram from this website and it
is helpful but I’m having some challenges because none of the colors
match and not all of the wire sizes are consistent. But I’m slowly
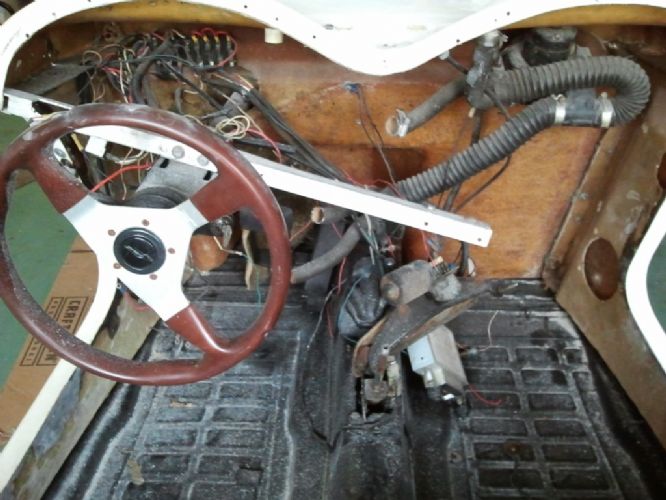
working my way through it.I believe I have the engine compartment mostly done and the front
harness is about 90% done. The dash on the other hand….whew! I have
18 gauge connected to 16 gauge connected to 12 gauge all for one
instrument.Remember, my son got a little excited when he pulled the old dash (which
he lost) and just cut through wires. Little did I know how big a job
he created for me when he did that. So now I’m matching up the ends of
cut wires, testing with a meter, etc. I’m making SLOW progress but
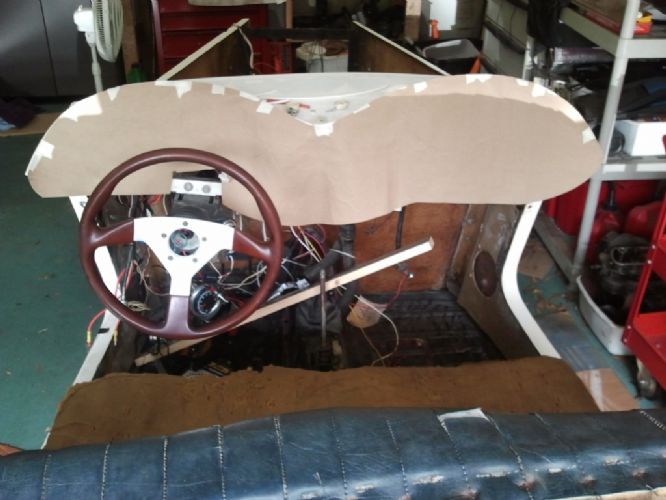
progress none the less.I eventually had to cut out a dash so I could keep everything neat and
organized (you know me) and just decided to “semi” start over from the
gauges to the fuse block. i think I’ll be much happier with the end
result and it may even be easier.Here are some pics
What I started with….
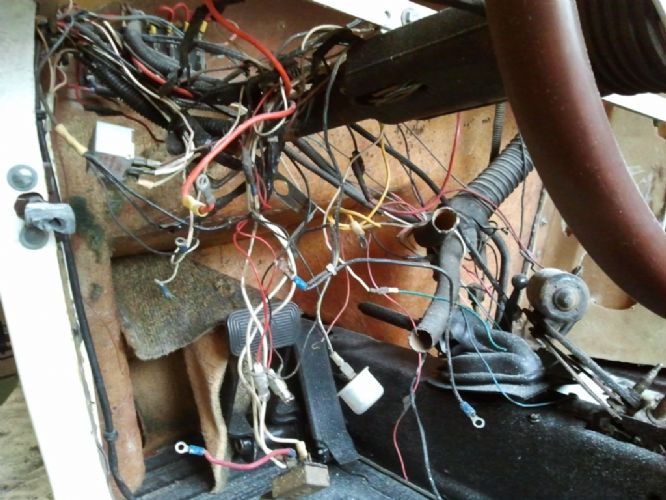
Pretty sure I was over thinking the dash…but that’s par for me. By the way, thanks again to Ed for sending a template of your dash. It wasn’t the same size as mine but I used your template to help make my template..thanks!
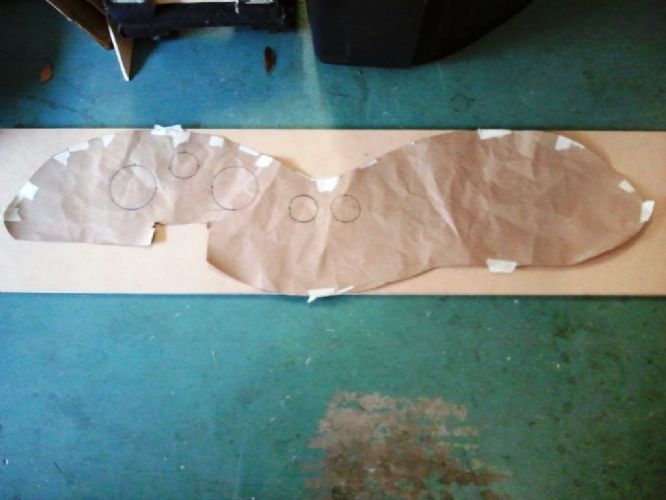
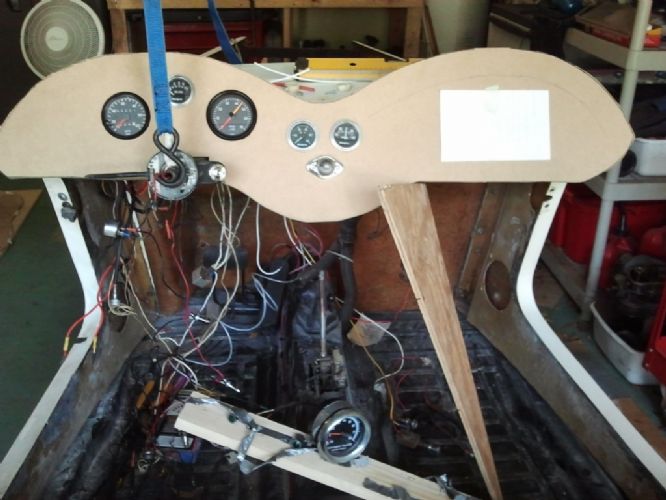
Moving along slowly but moving. Hope to have the dash pretty much done by the end of next weekend. We’ll see.
June 11, 2012 at 6:47 pm #247380Funny, the starting point of your rewiring looks like the harness I’ve
been running for years.Bill Ascheman
Fiberfab Ford
Modified 5.0, 5sp., 4:11
Autocross & Hillclimb
"Drive Happy"June 11, 2012 at 8:37 pm #247381HAR!
June 12, 2012 at 2:13 pm #247382Anonymous
InactiveSamba vw site has wiring diagram for vw’s . The diagrams on some of them list the wire gauge size. It is listed as german specks but you can find conversion to ase wire gauge size. good luck on wiring.
George FisherJune 12, 2012 at 7:40 pm #247383The full schematics for Classic Roadsters Duchess (VW based) are in the Download Manuals section. Click the link in the left sidebar, scroll down to to the bottom of the Manuals page.
Paul Mossberg
Former Owner of a 1981 Classic Roadsters Ltd. Duchess (VW)
2005 Intermeccanica RoadsterIf you own a TDr and are not in the Registry, please go to https://tdreplica.com/forums/topic/mg-td-replica-registry/ and register (you need to copy and paste the link)
June 27, 2012 at 7:16 am #247384Wiring Update.
After input from my TD Forum family I went back to my wiring efforts and threw out 2 assumptions
1. Things were wired correctly when I got the car
2. I knew what the heck I was doing.Then I called up the wiring diagram for my car from the online manual (again) and decided IT was correct and moved forward blindly following its layout regardless of what I had, remembered, or thought I knew.
Voila! Let there be light!
The Dash lit up first….
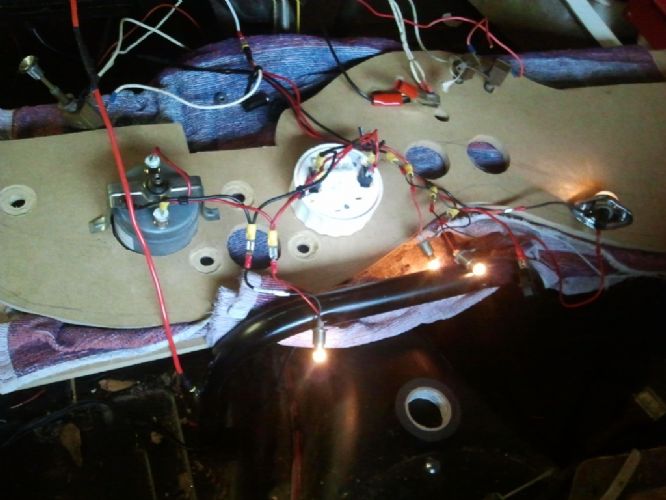
Then the headlights..
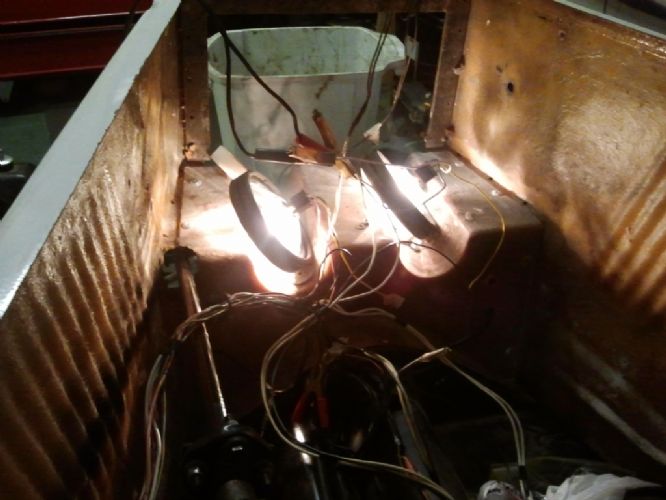
It’s still a bird’s nest of wires and I’m far from putting the dash back on but I’m making progress. After, of course, some trial and error, and some tweaking.
I may have a bad headlight switch or relay because I cannot get the brights to work. I may also have a wiring issue…surprise. But I’m confident I can figure that out now.
Not everything is functional yet because I’m powering 1 or 2 fuse links at a time with my battery charger (great idea Roy). This way I can confirm each section is functioning properly before I tie down my punkin.
But now I know what I’m going to be doing while I’m off for the 4th of July.
Thanks everyone
June 27, 2012 at 7:37 am #247385There ya go!
re the headlight dipper switch: find the wires from that. If you’ve got a later VW column then they’re in the column. When it’s shorted or not hooked up, the switch acts like it doesn’t work (won’t “click” on and off). Most times it’s the wiring and not the switch.
Keep on truckin. You’ll find it.
June 27, 2012 at 7:38 am #247386If you have one of those fancy new fangled pertronix like things. I’m not sure that it would tolerate the initial momentary higher voltage that your battery charger might put on. A way around this is to leave something else connected (and on) when you hook up the ignition.
-
AuthorPosts
- You must be logged in to reply to this topic.
